Overview
The Pi-Traffic light provides a fun and easy way to add three 10mm LEDs to your Raspberry Pi project. The red, yellow and green LEDs give visual feedback to the Raspberry Pi GPIO. The Pi-Traffic light can also be used as a tool to learn about controlling the Raspberry Pi GPIO pins.
Product information
Documents
Installation
Raspberry Pi Model A+, B+, 2B, 3B, 4 and Zero (40-pin GPIO)
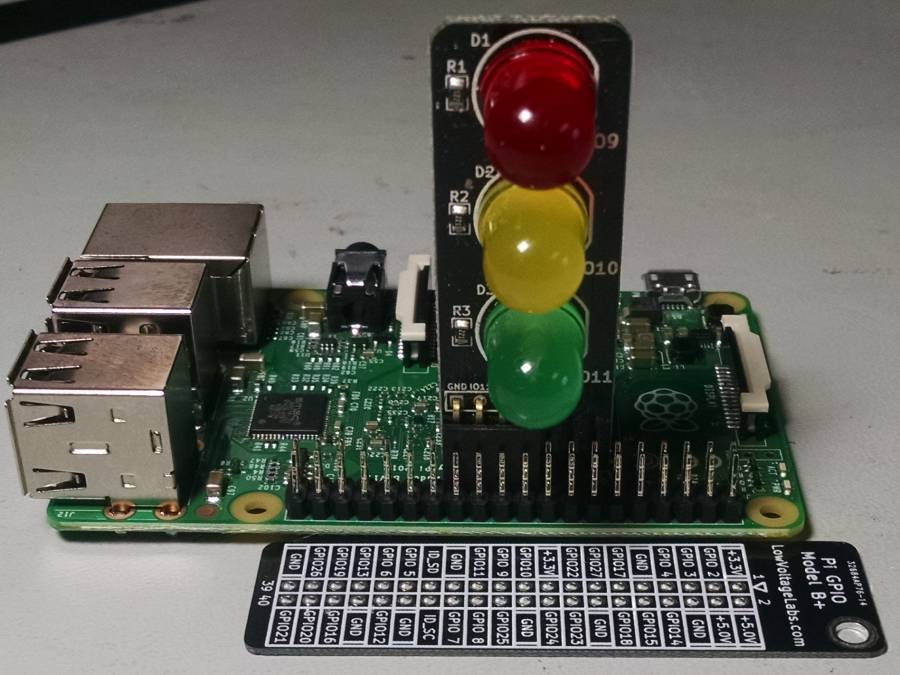
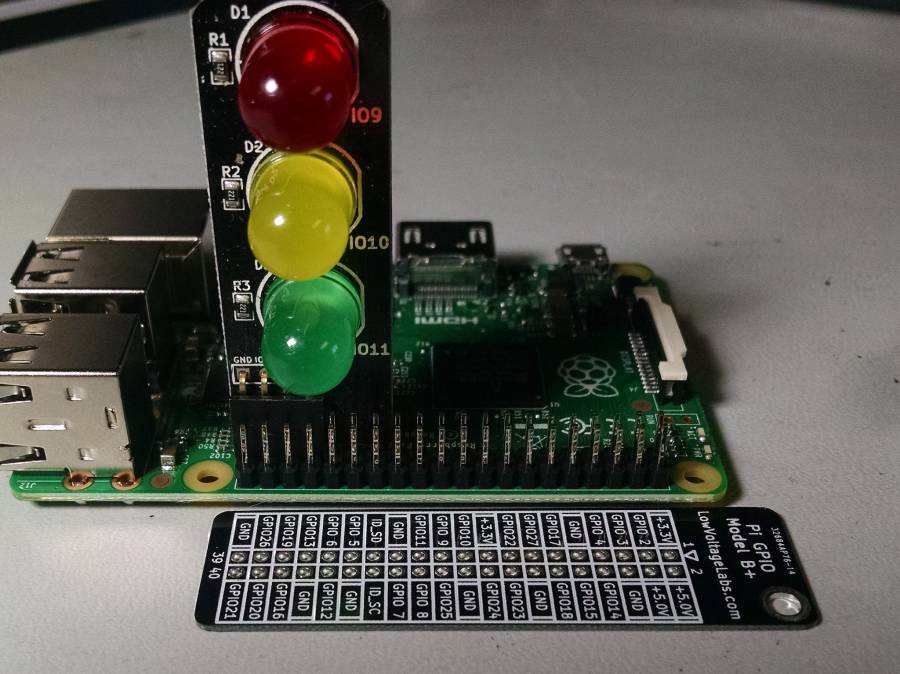
On the Raspberry Pi models with a 40-pin GPIO headers the Pi Traffic light connects to GPIO pins 9,10 and 11. When looking at the front of the Raspberry Pi these pins are in the middle of the header. The Pi Traffic light installs vertically on the four back left pins of the GPIO header, see the photo below. Note the Pi Zero requires soldering pins into the 40-pin header.
Pi Traffic Light lined up to the 40-pin GPIO Raspberry Pi Models

Pi Traffic Light installed on the 40-pin GPIO Raspberry Pi Models
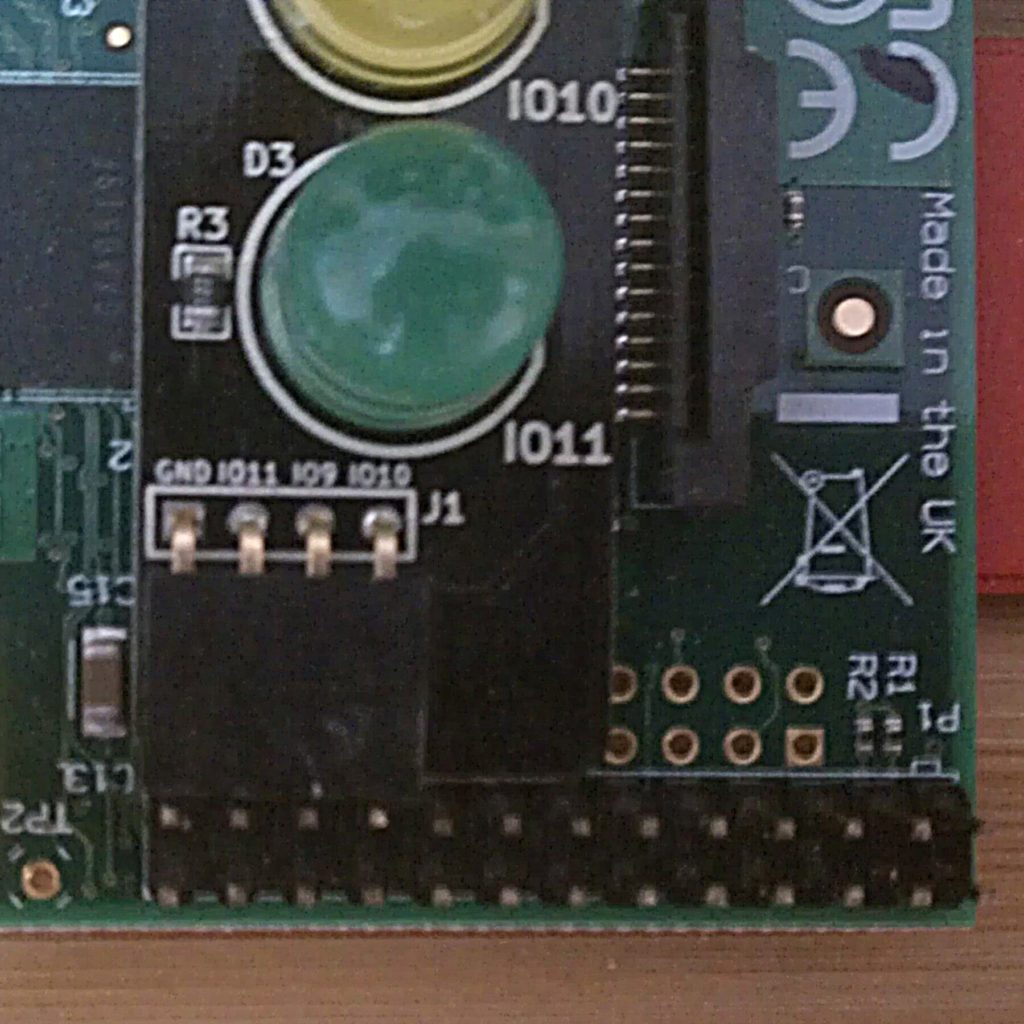
Pi Traffic Light can also be installed on GPIO pins GPIO26, GPIO19 and GPIO13
Raspberry Pi Model A and B (26-pin GPIO)
On the Raspberry Pi Model A and B the Pi Traffic light connects to GPIO pins 9,10 and 11. When looking at the front of the Raspberry Pi these pins are located at the back left corner of the Raspberry Pi GPIO header. The Pi Traffic light installs vertically on the four back left pins of the GPIO header.
Pi Traffic Light lined up to the 26-pin GPIO Raspberry Pi Models
Pi Traffic Light installed on the 26-pin GPIO Raspberry Pi Models
