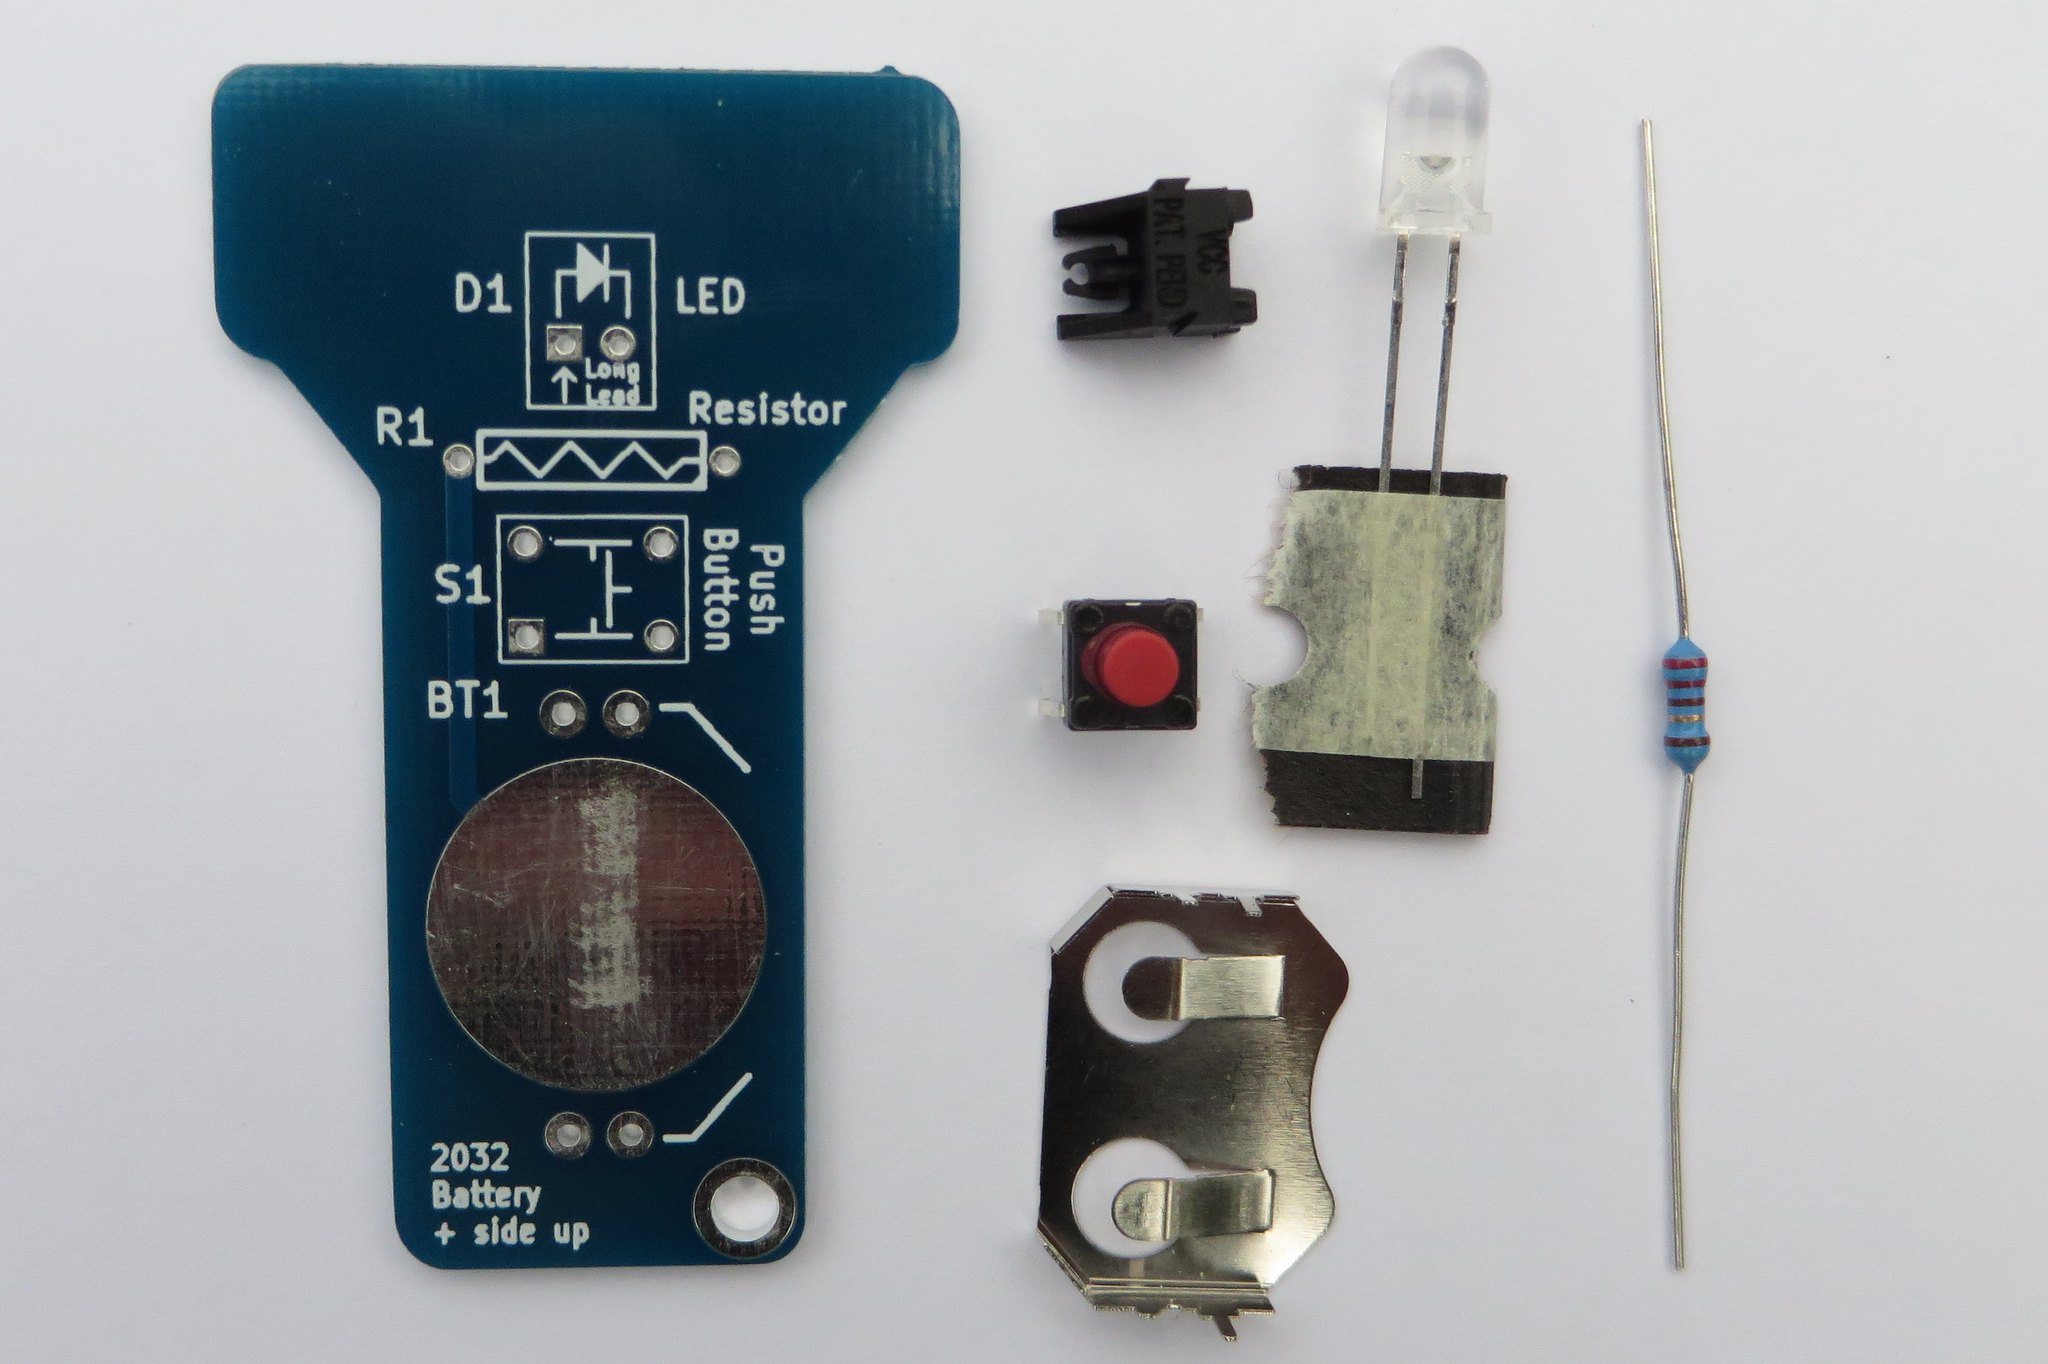
Step 1 – Check the parts included with the kit
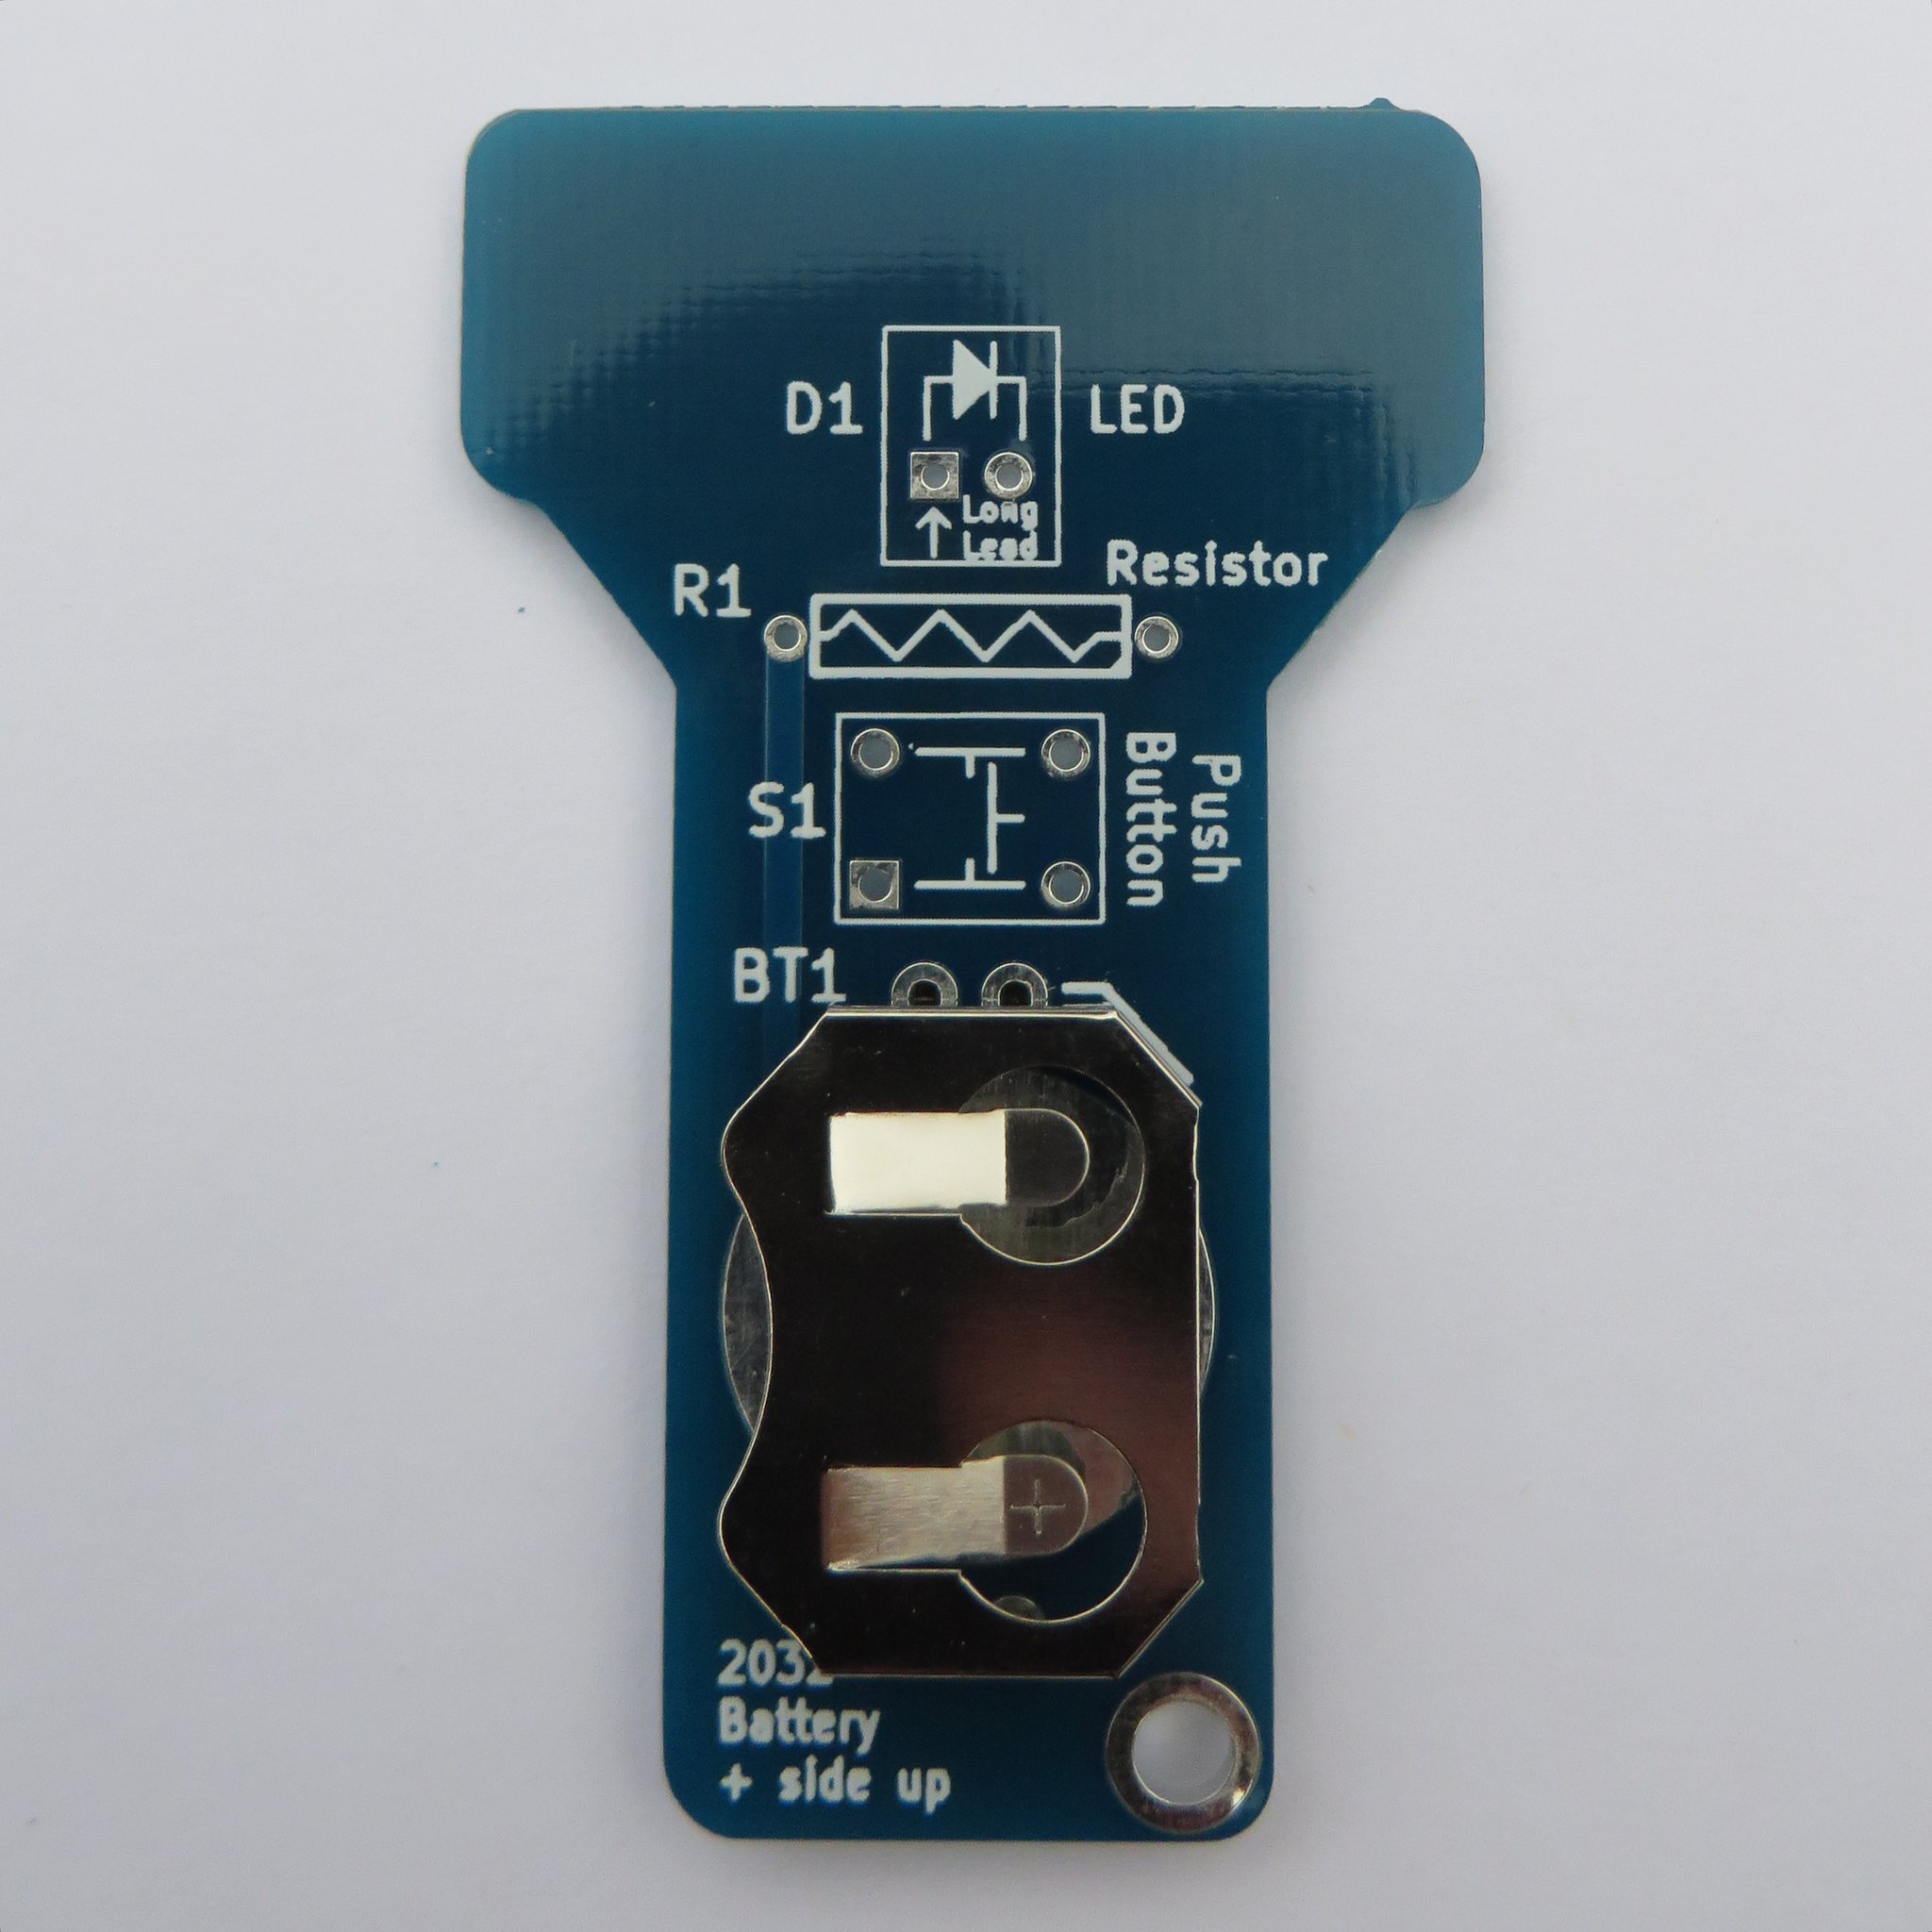
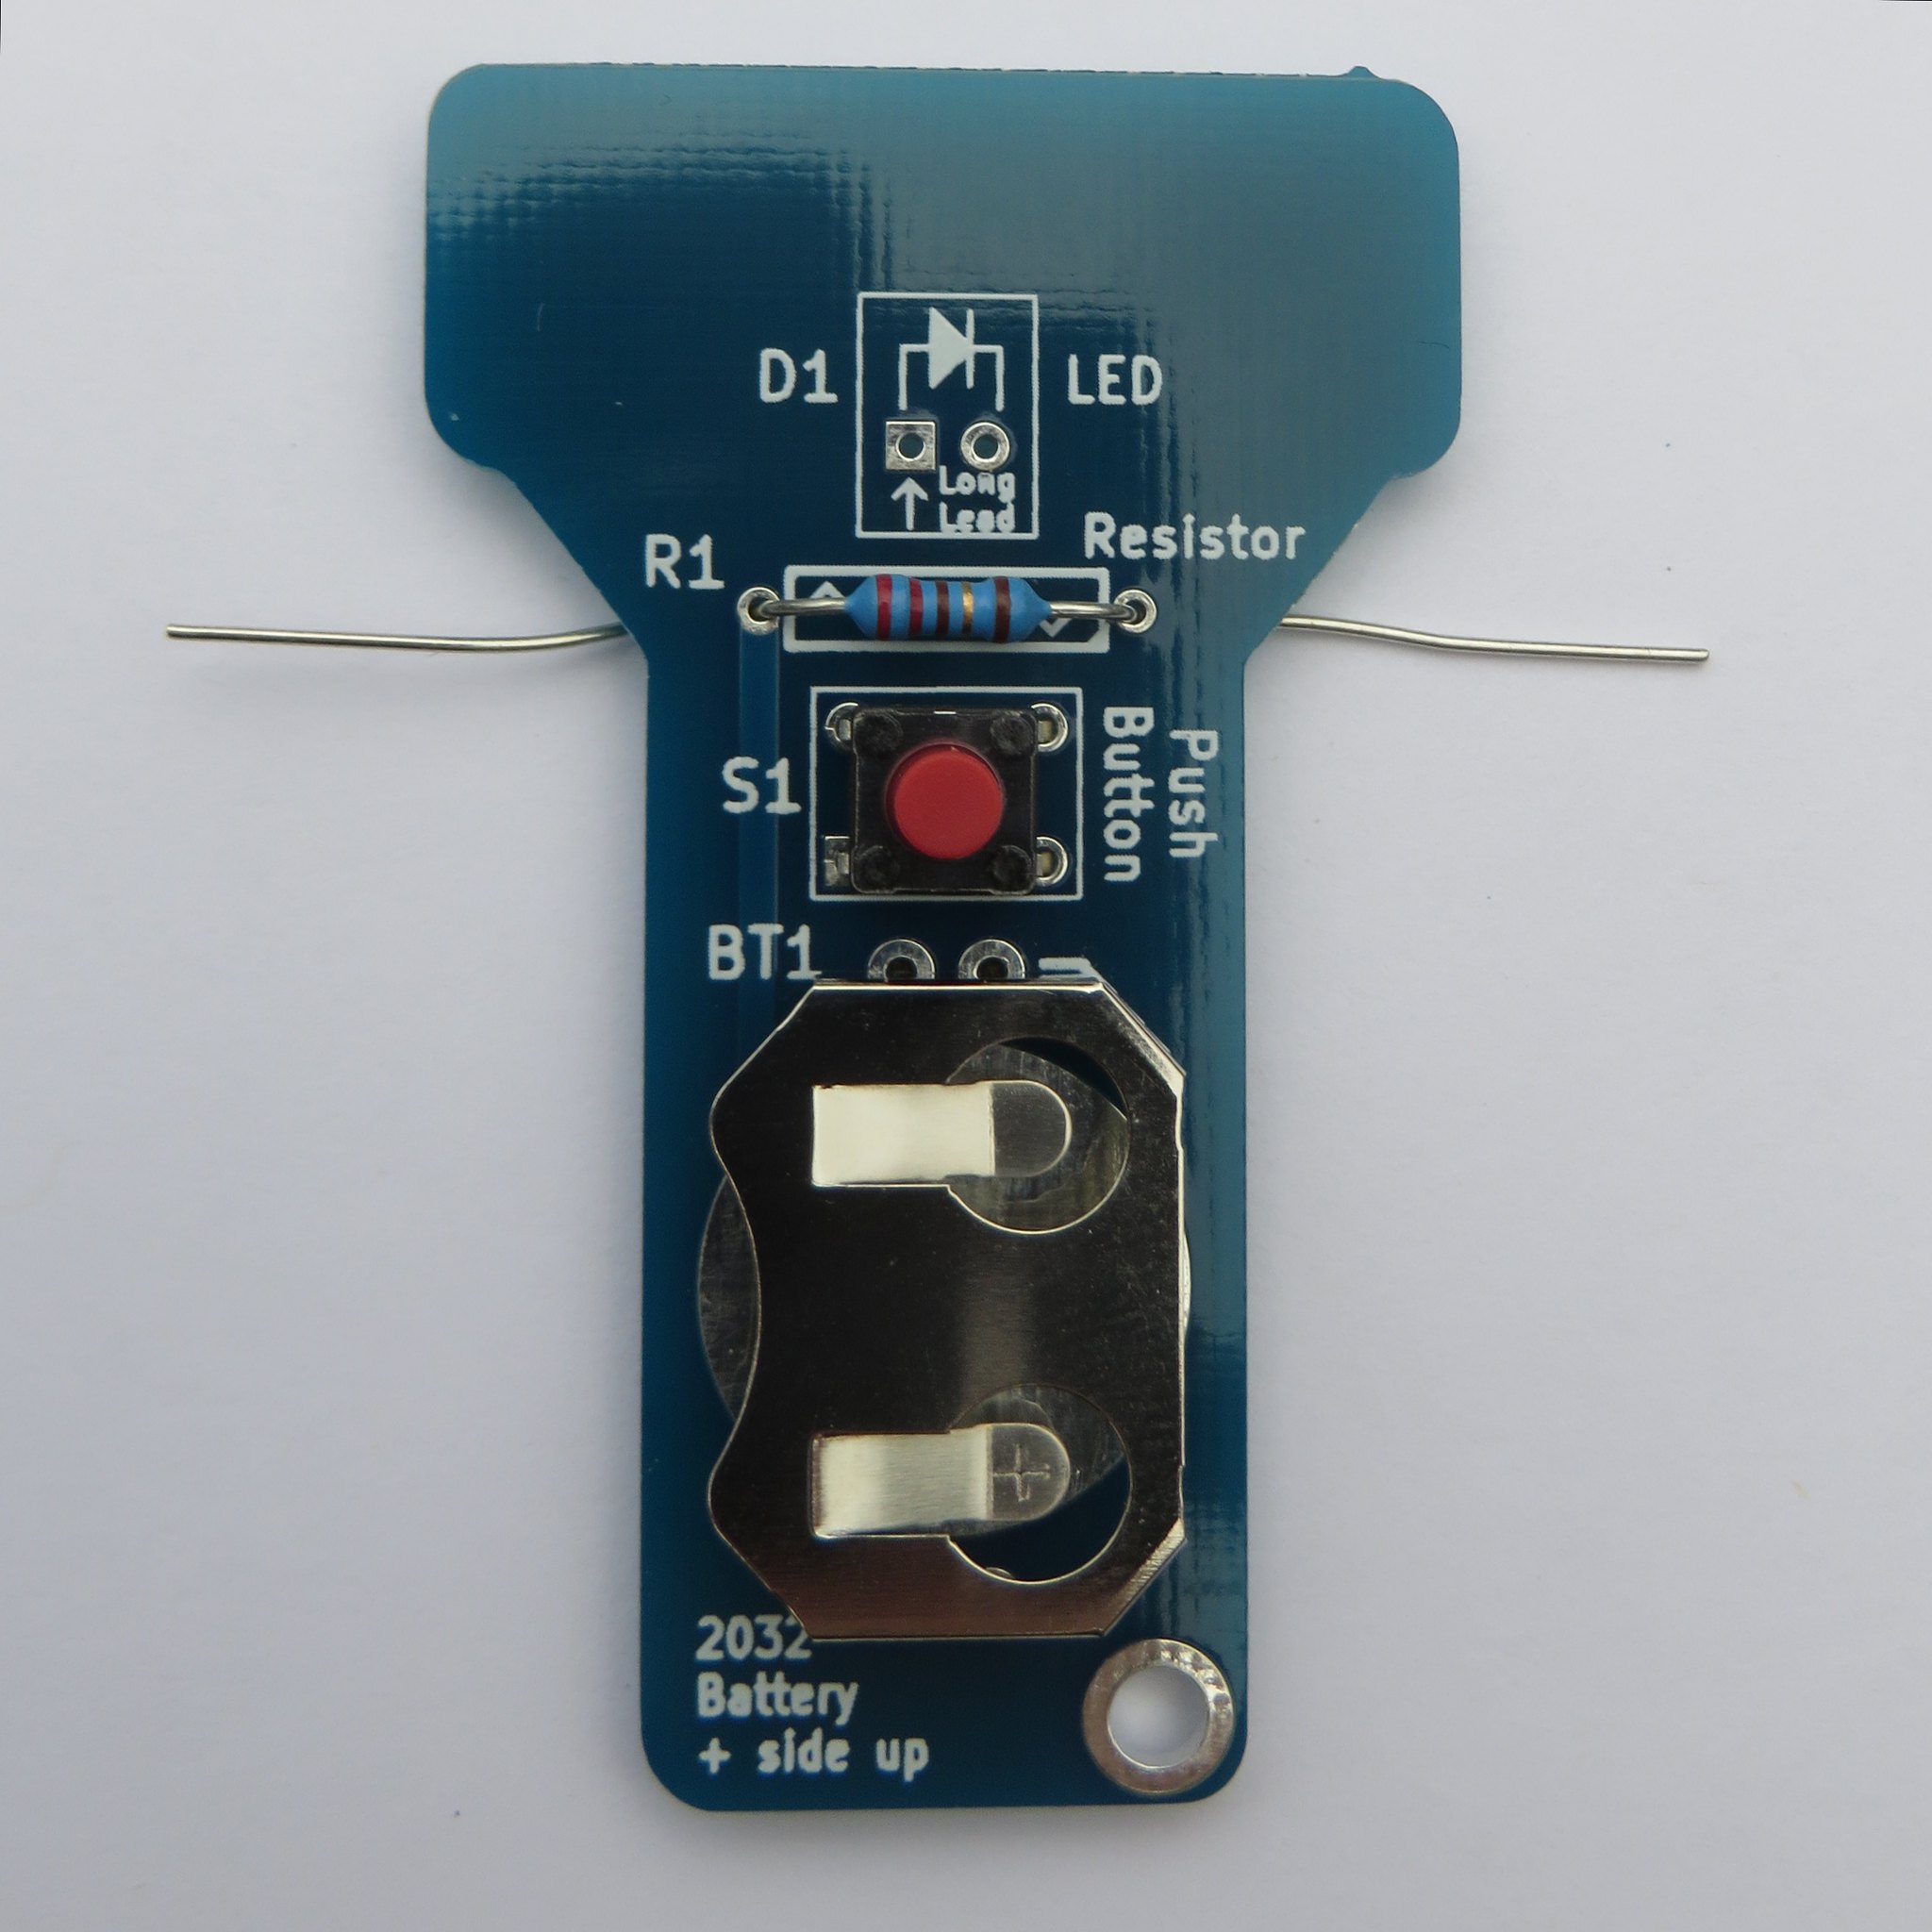
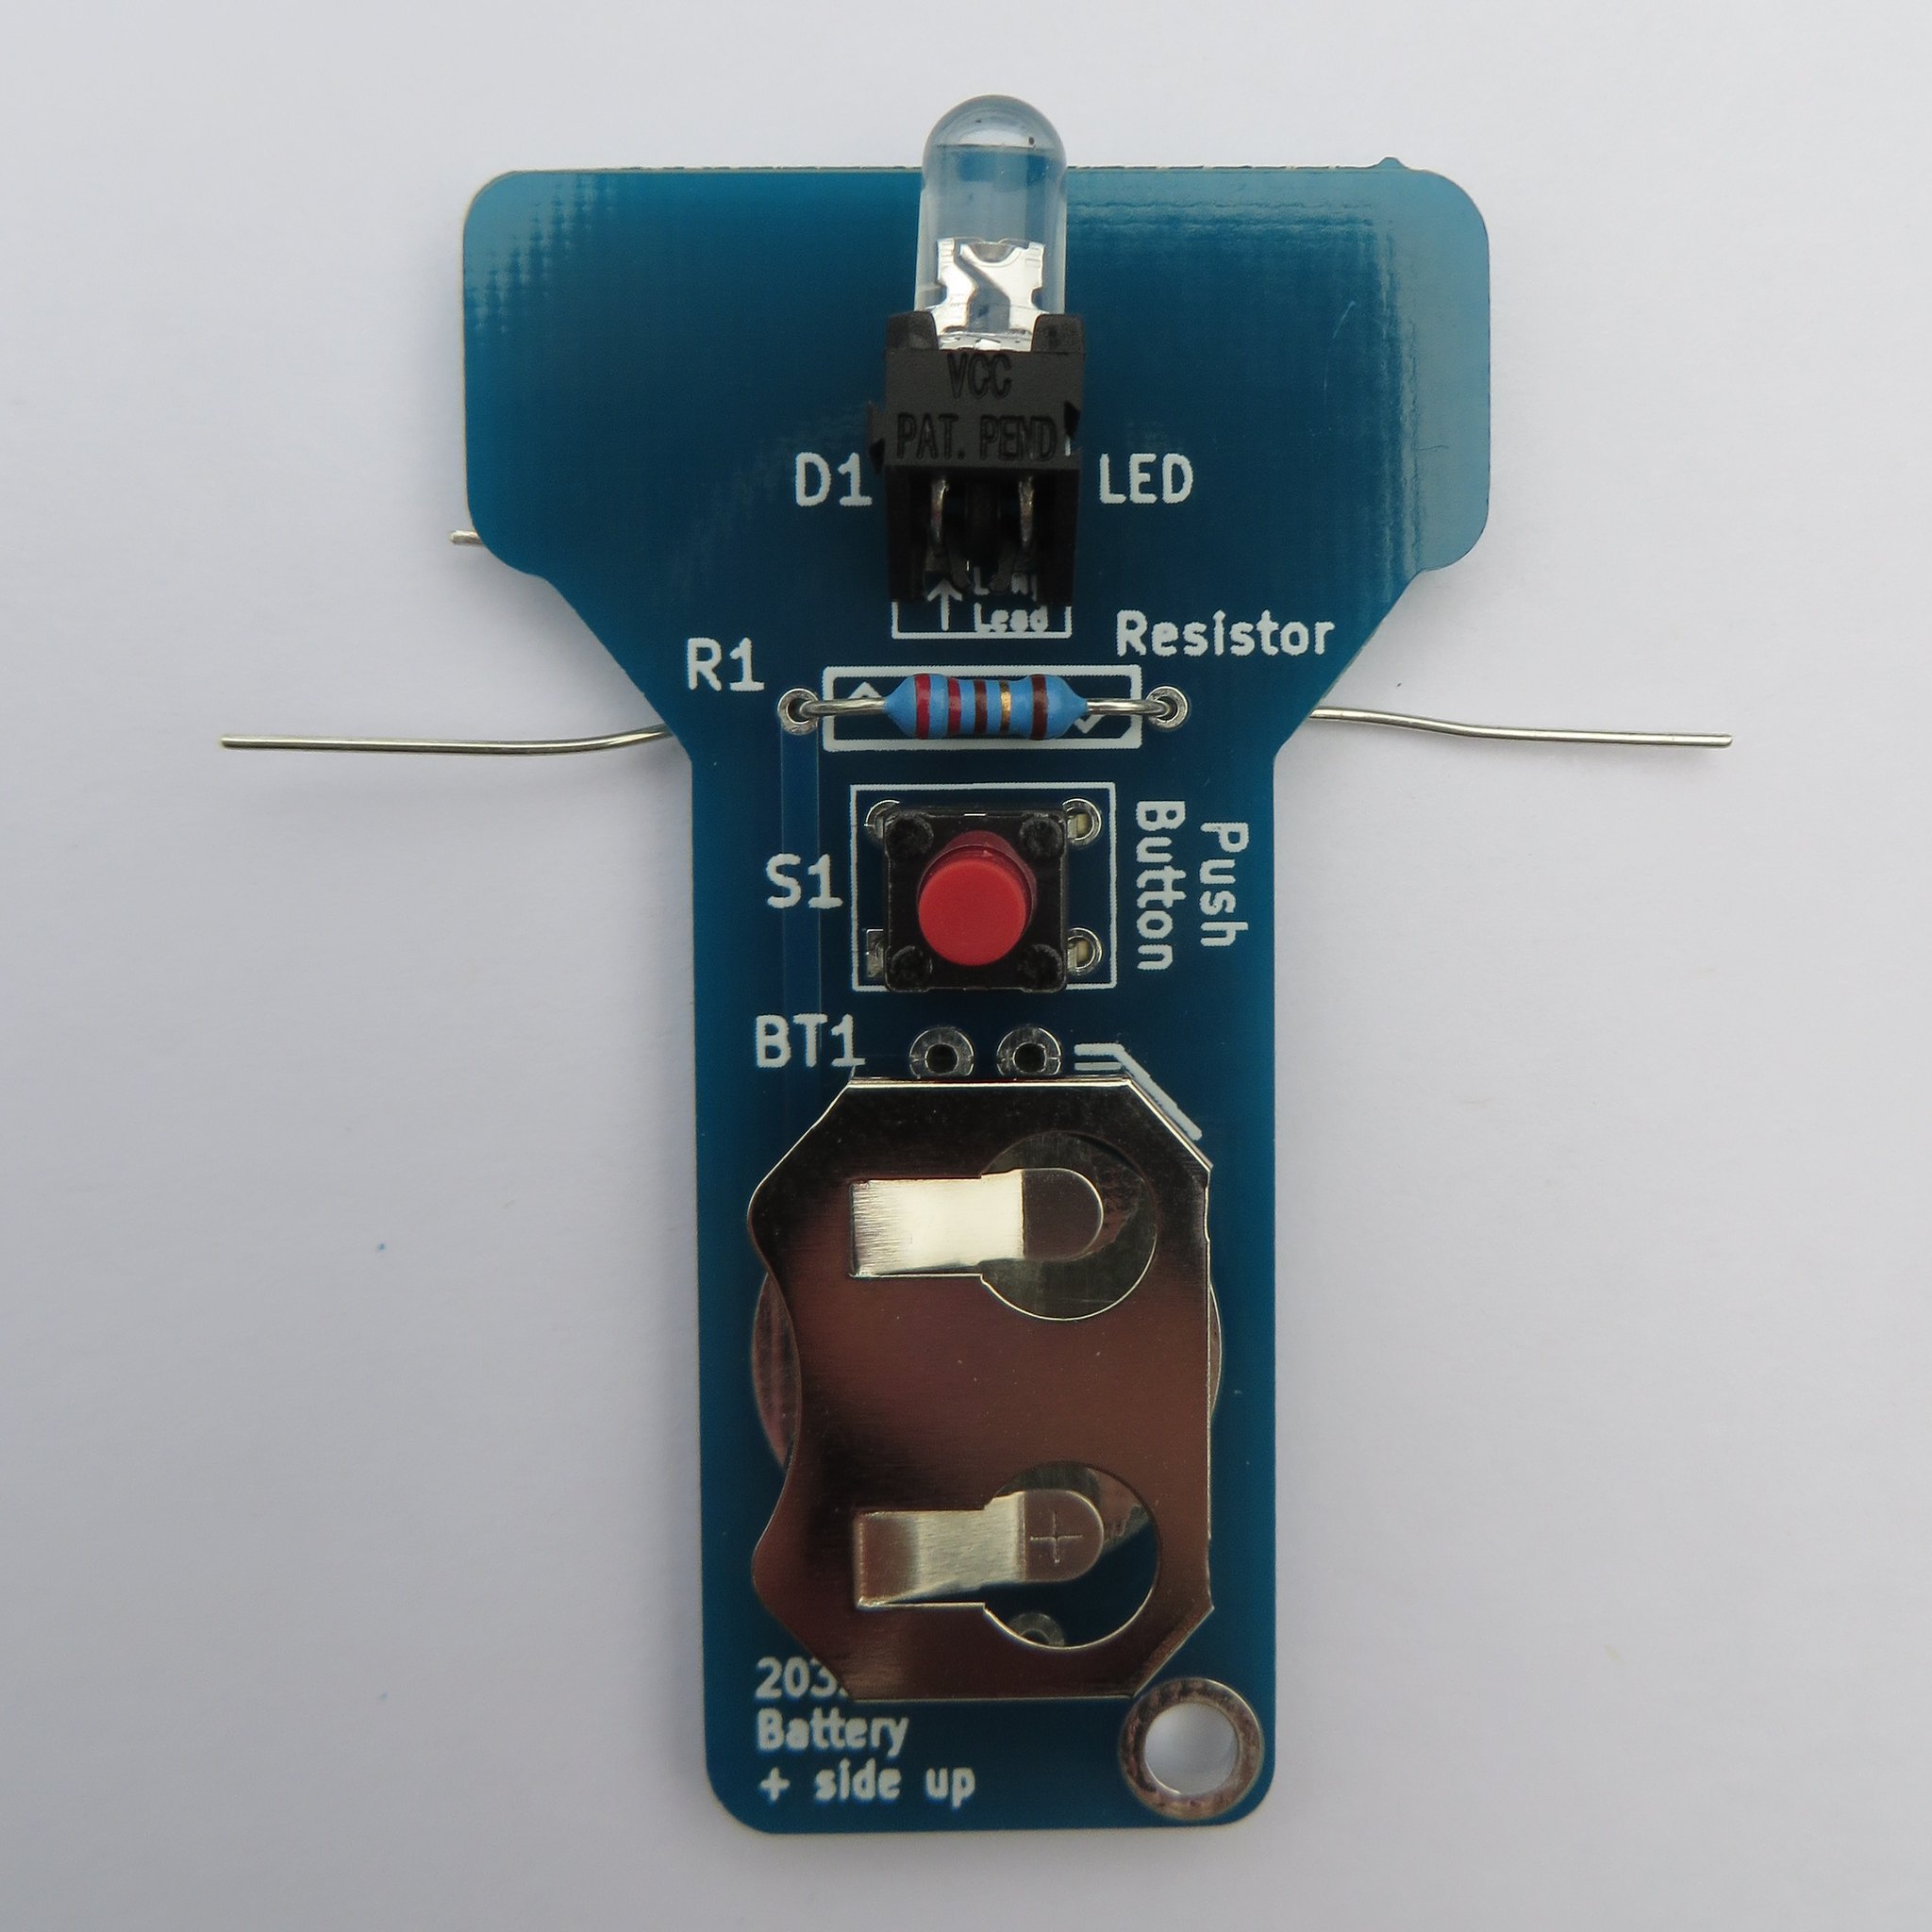
Step 2 – Install the battery holder with the opening to the left
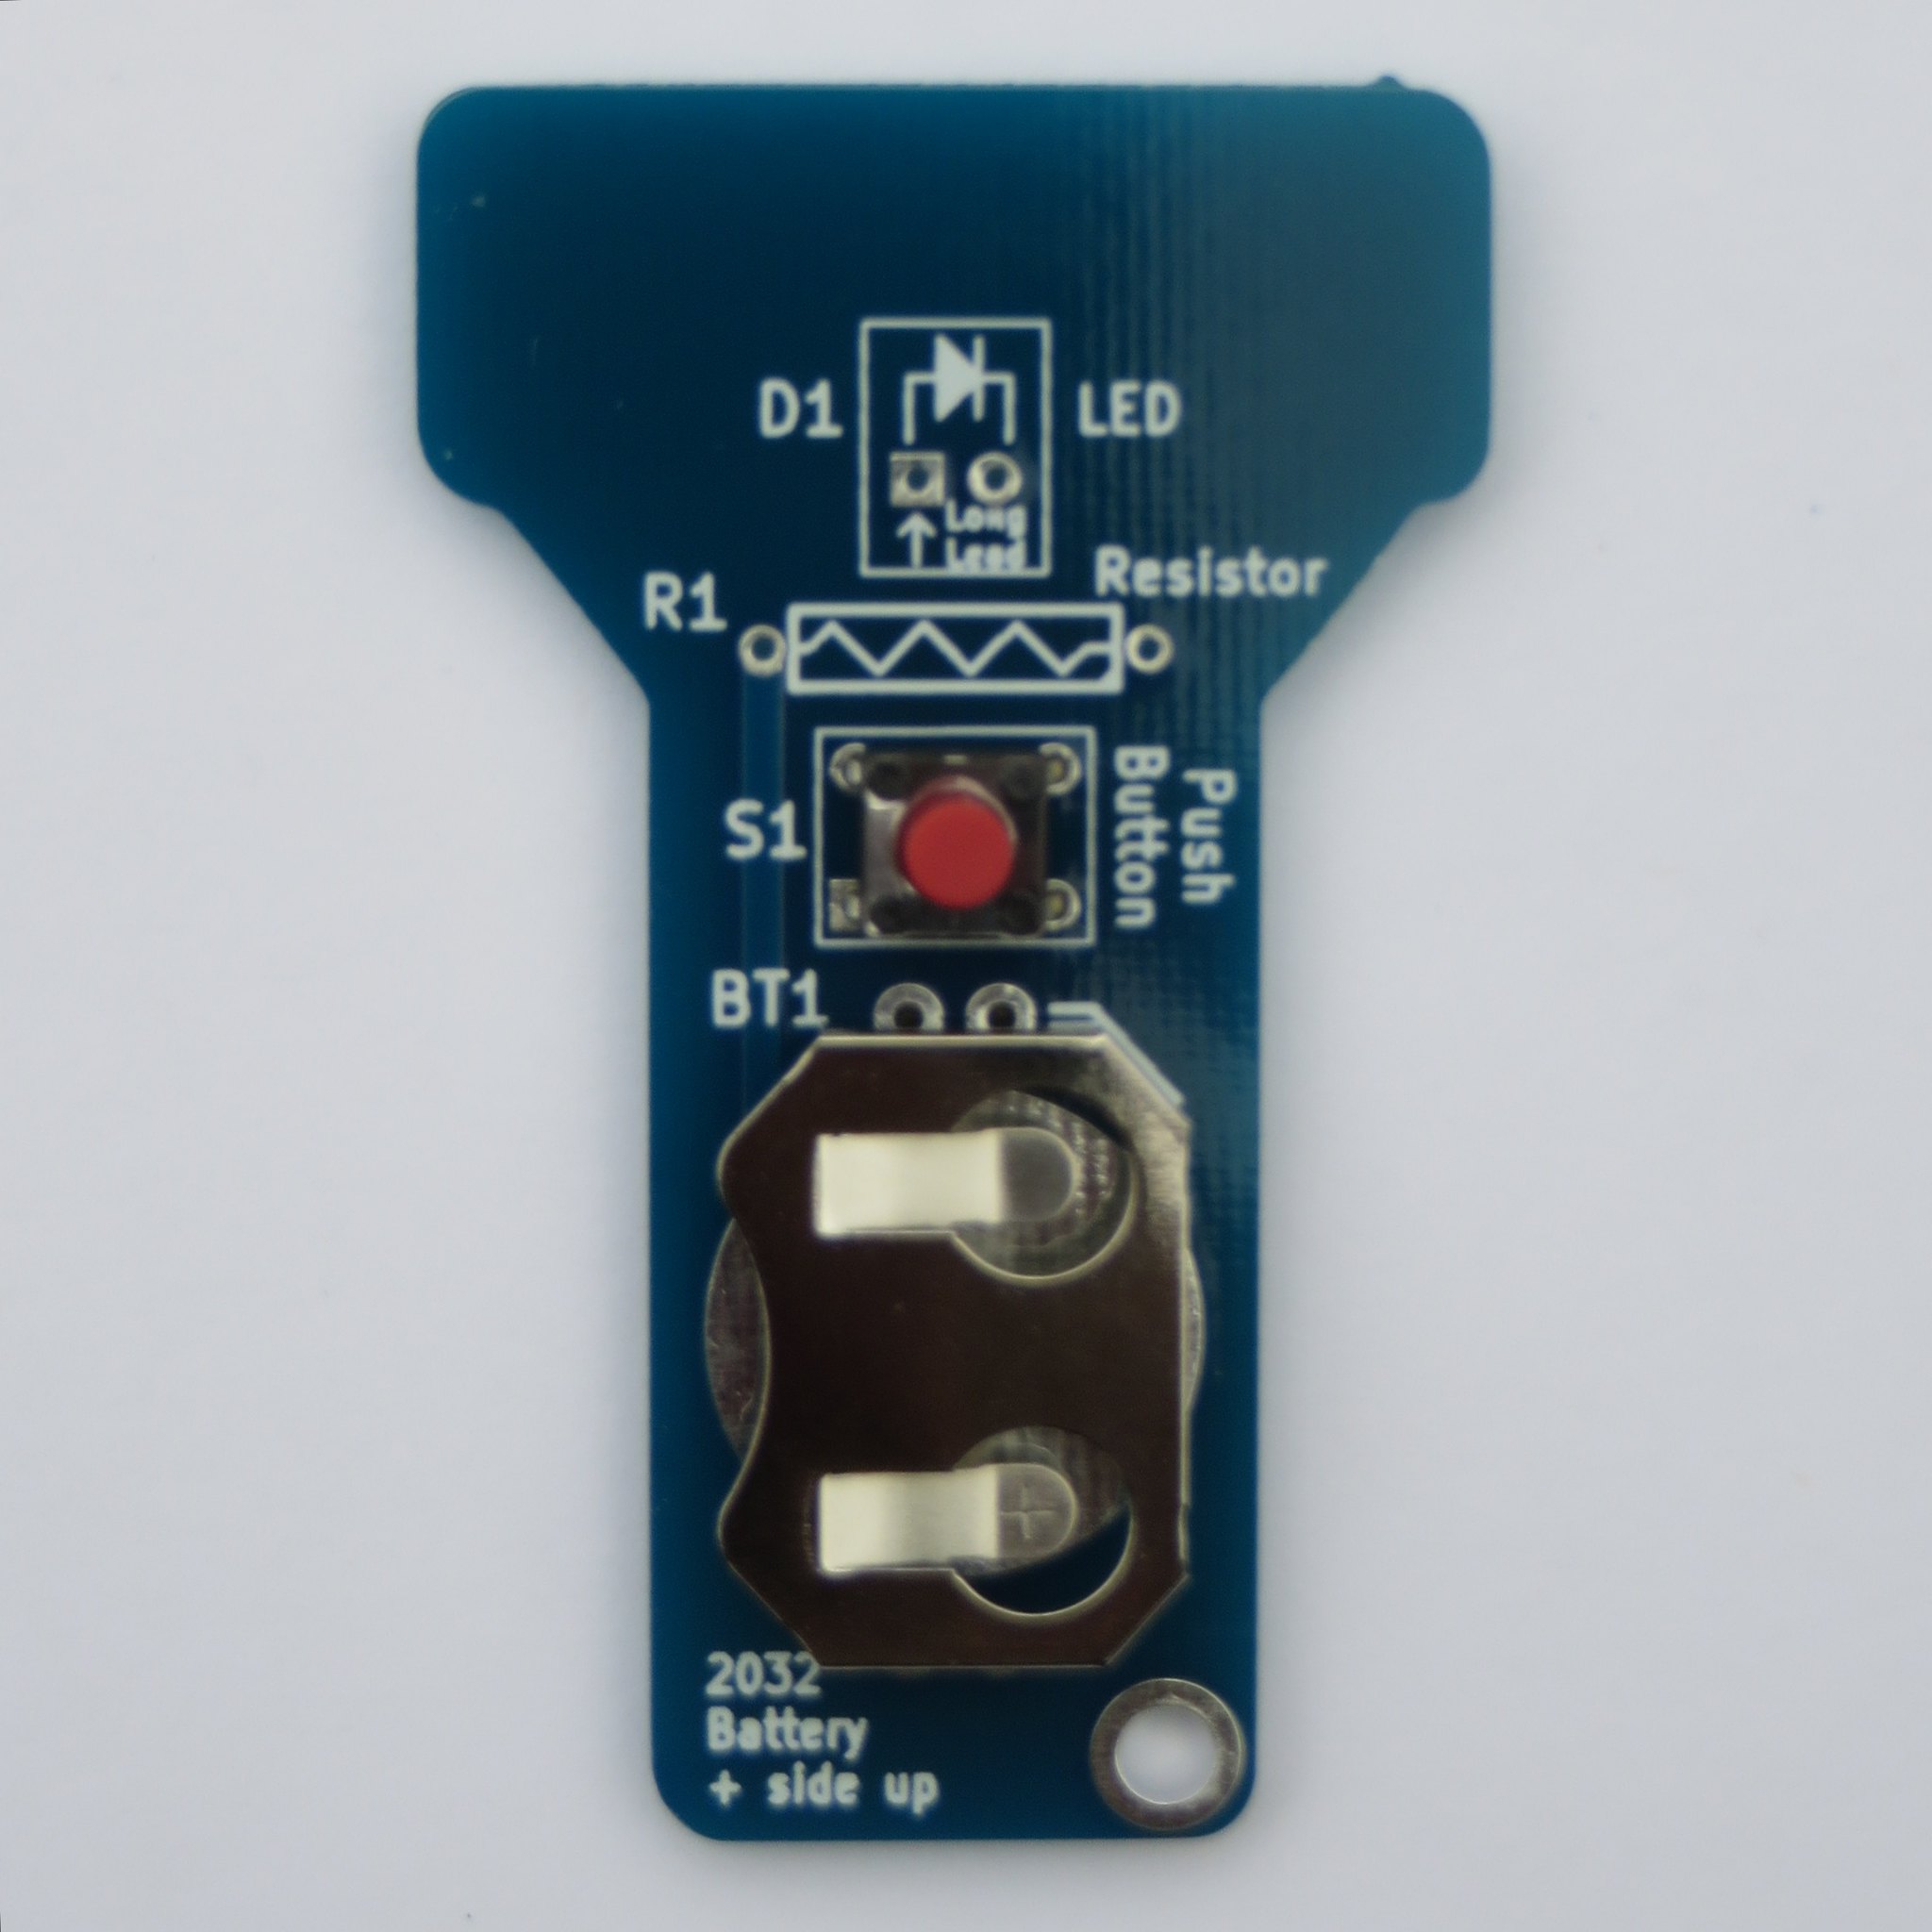
Step 3 – Install push button S1 into the PCB
Step 4 – Fold the leads of the resistor over before installing into the PCB.
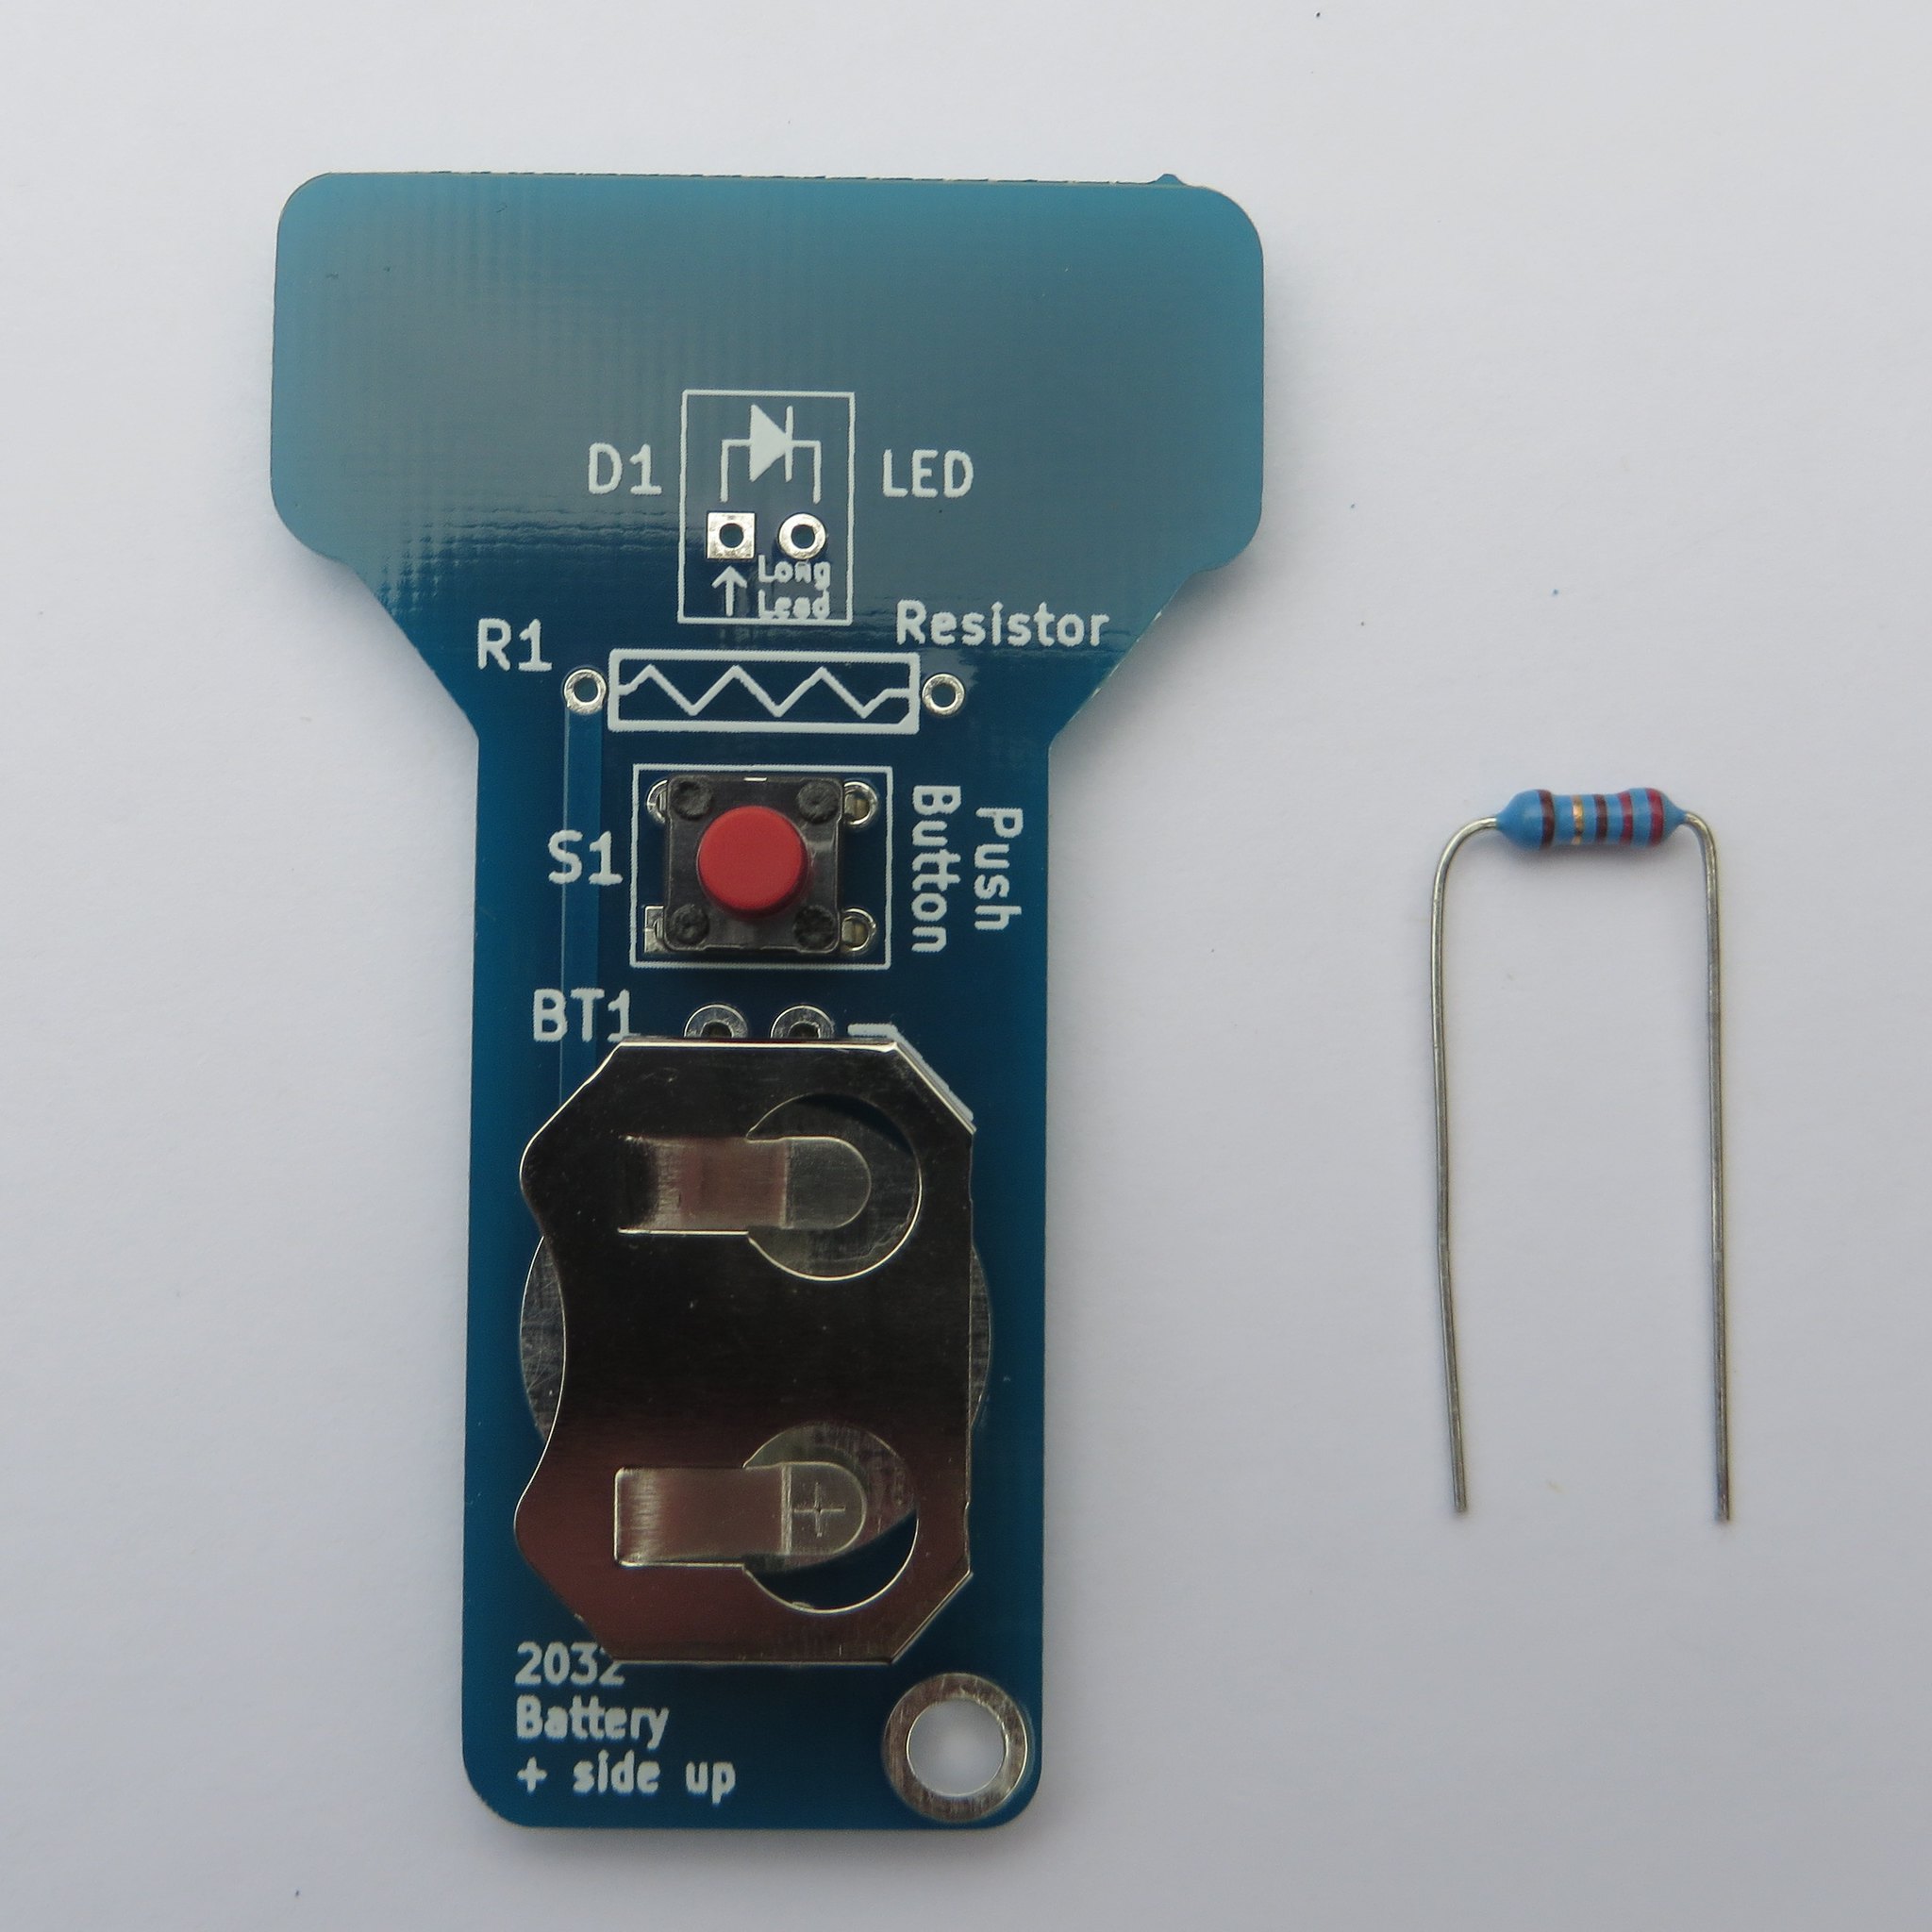
Step 5 – Install resistor R1 fold the leads over on the back
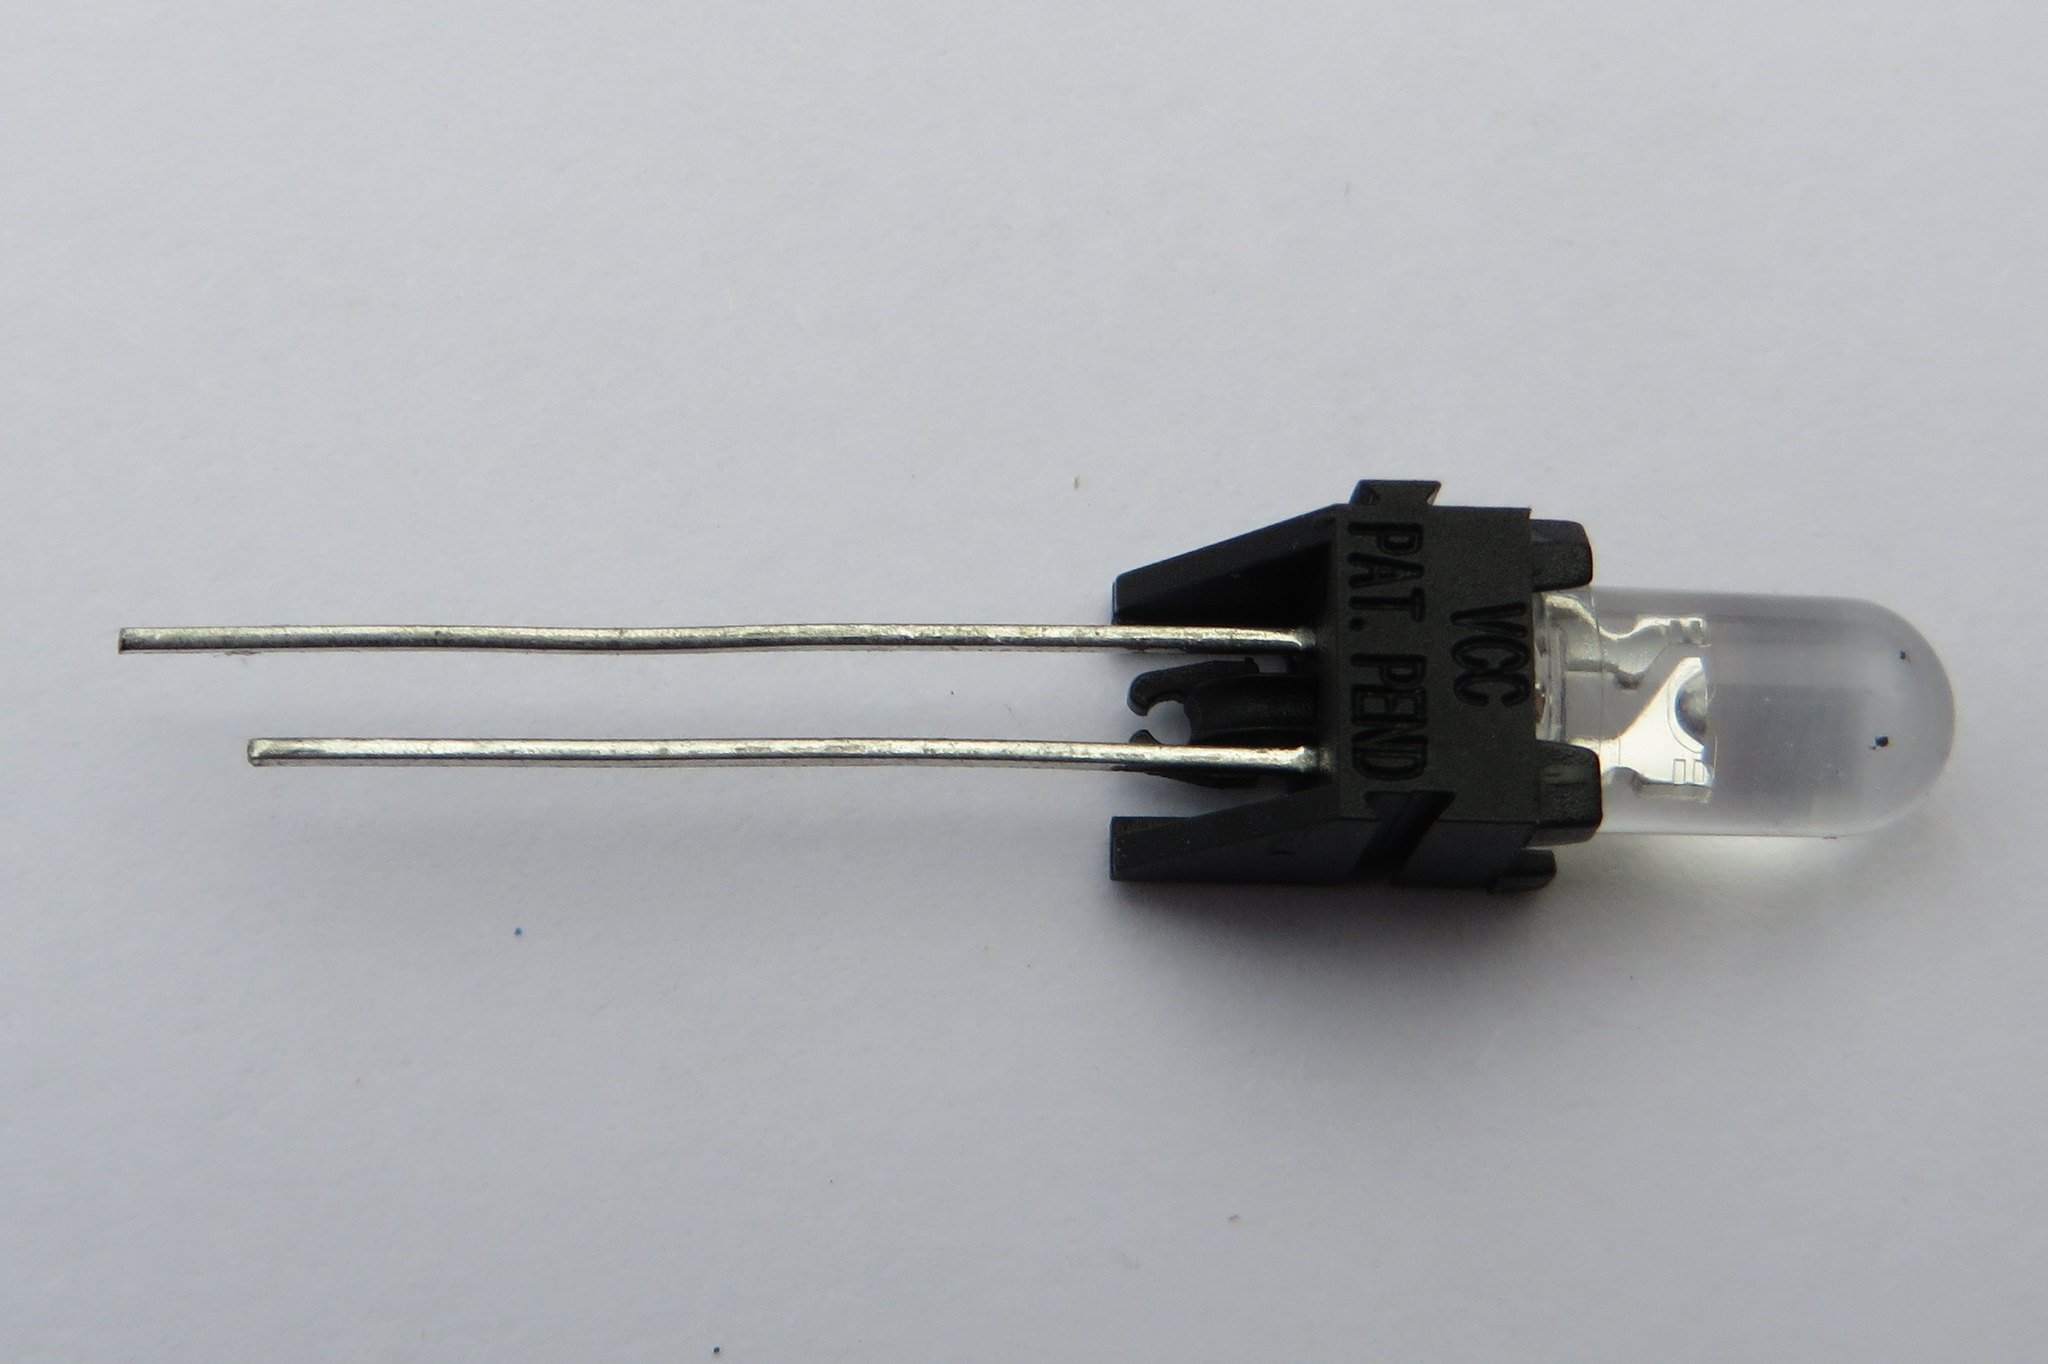
Step 6 – Assemble the LED and right angle LED holder together before installing into the PCB
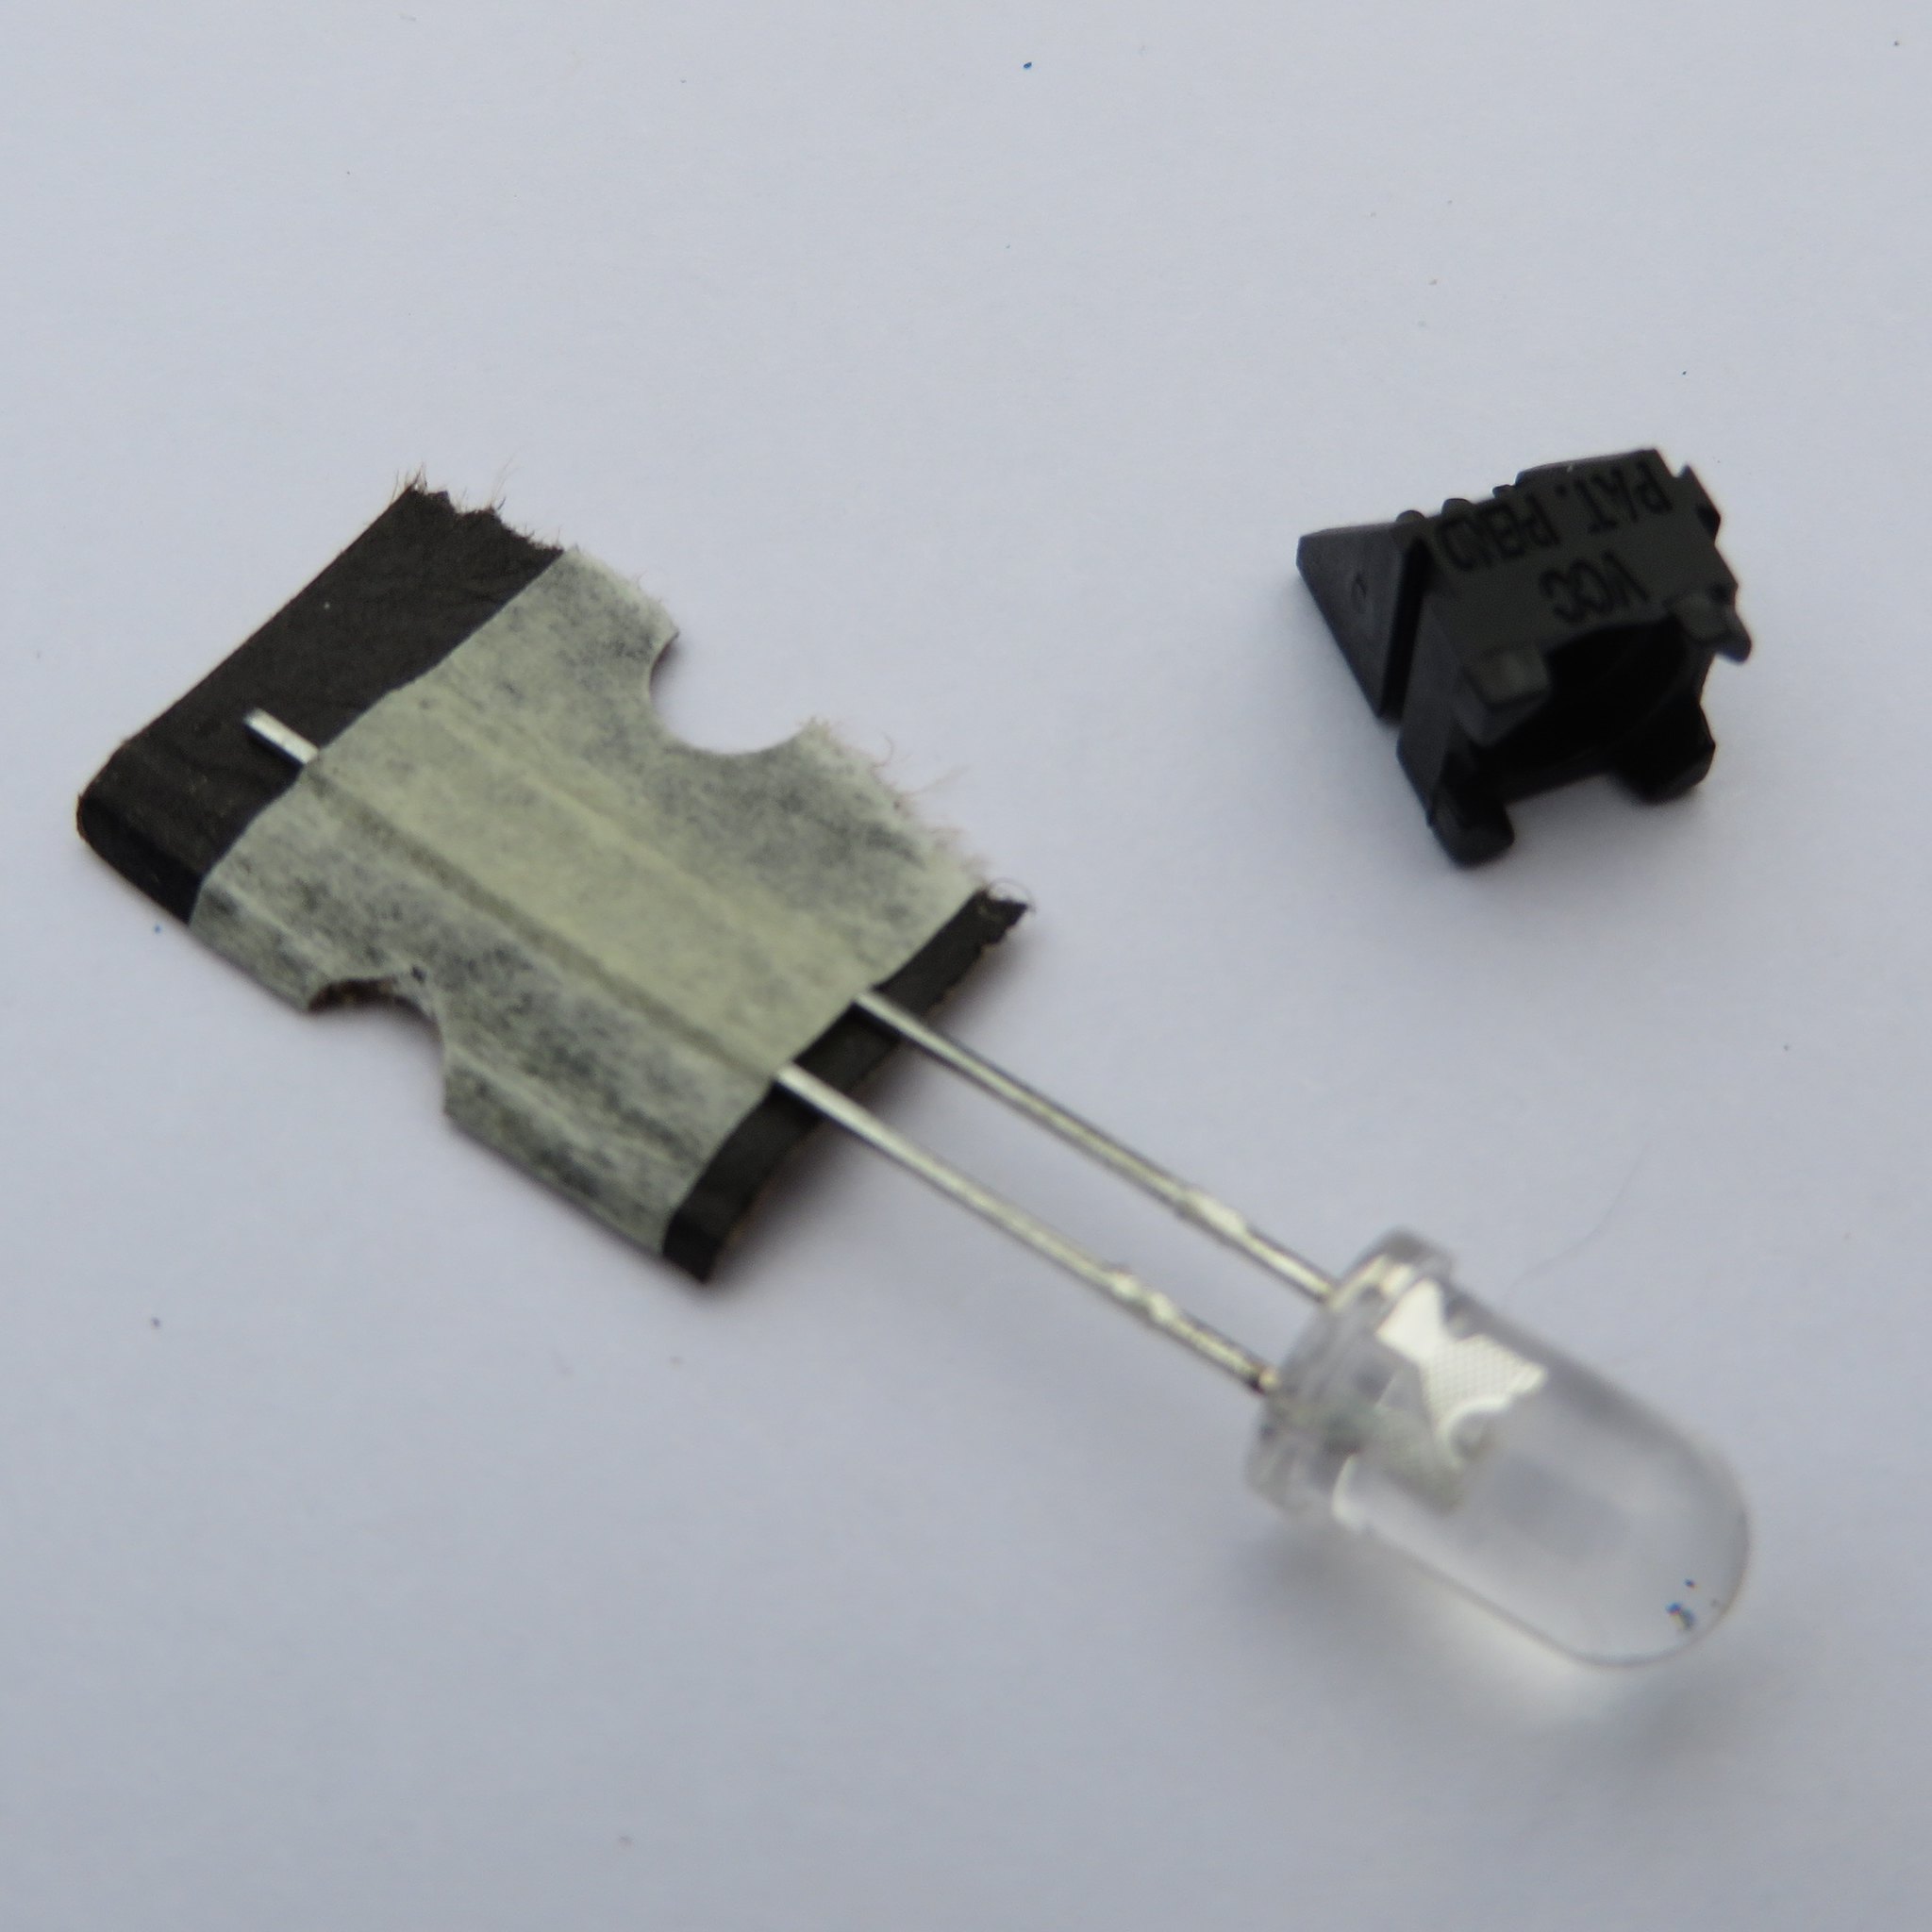
Step 7 – Insert the LED into the LED holder so that the longer lead matches up with the long lead hole in the PCB when installed
Step 8 – Bend the leads of the LED at a 90 degree angle before installing into the PCB
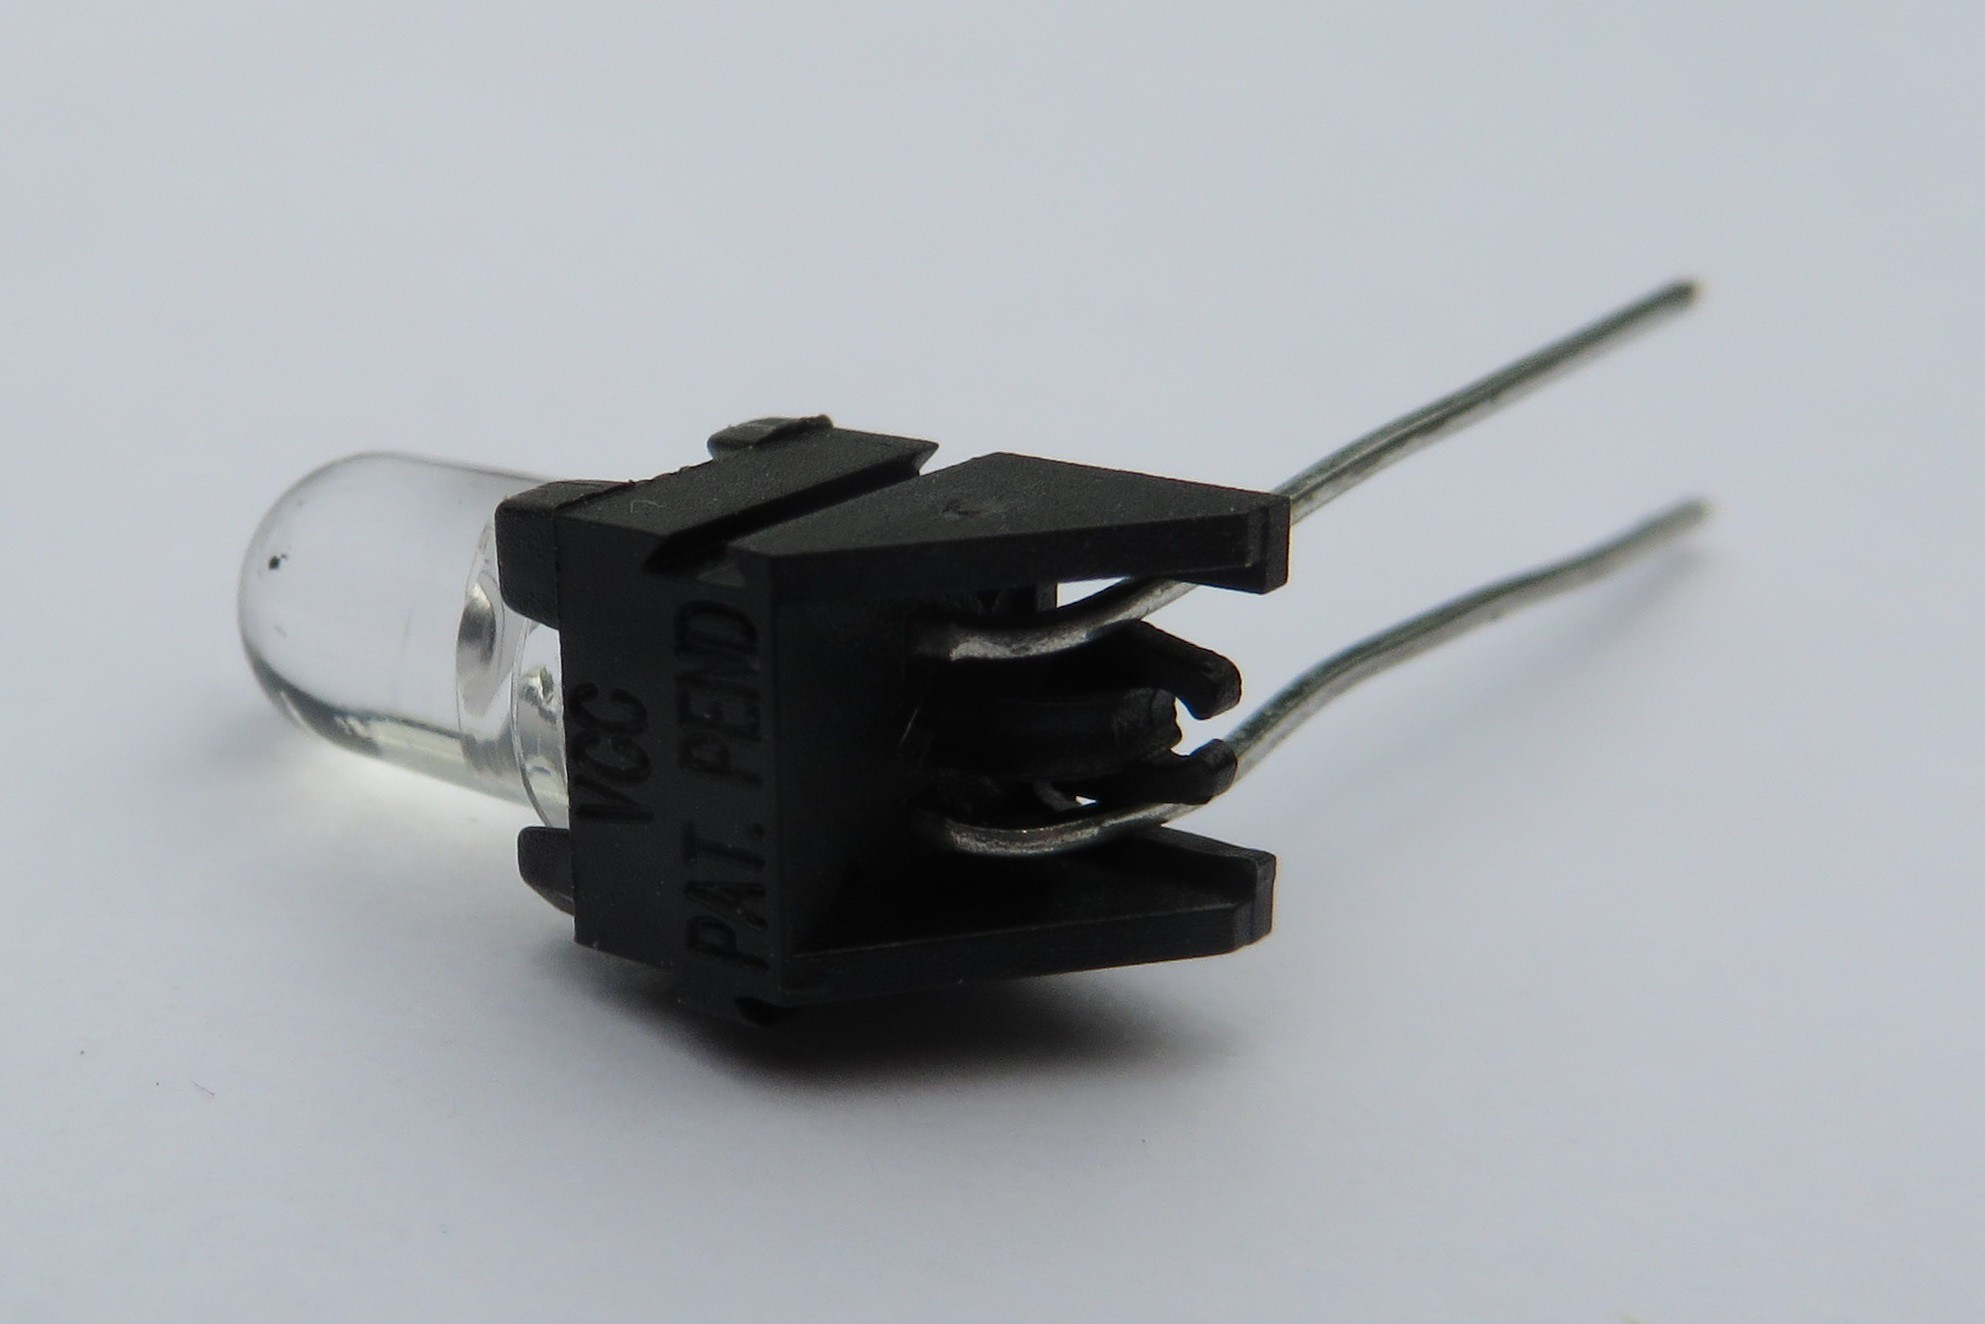
Step 9 – Install the LED holder with LED into the PCB. Fold the leads over on the back
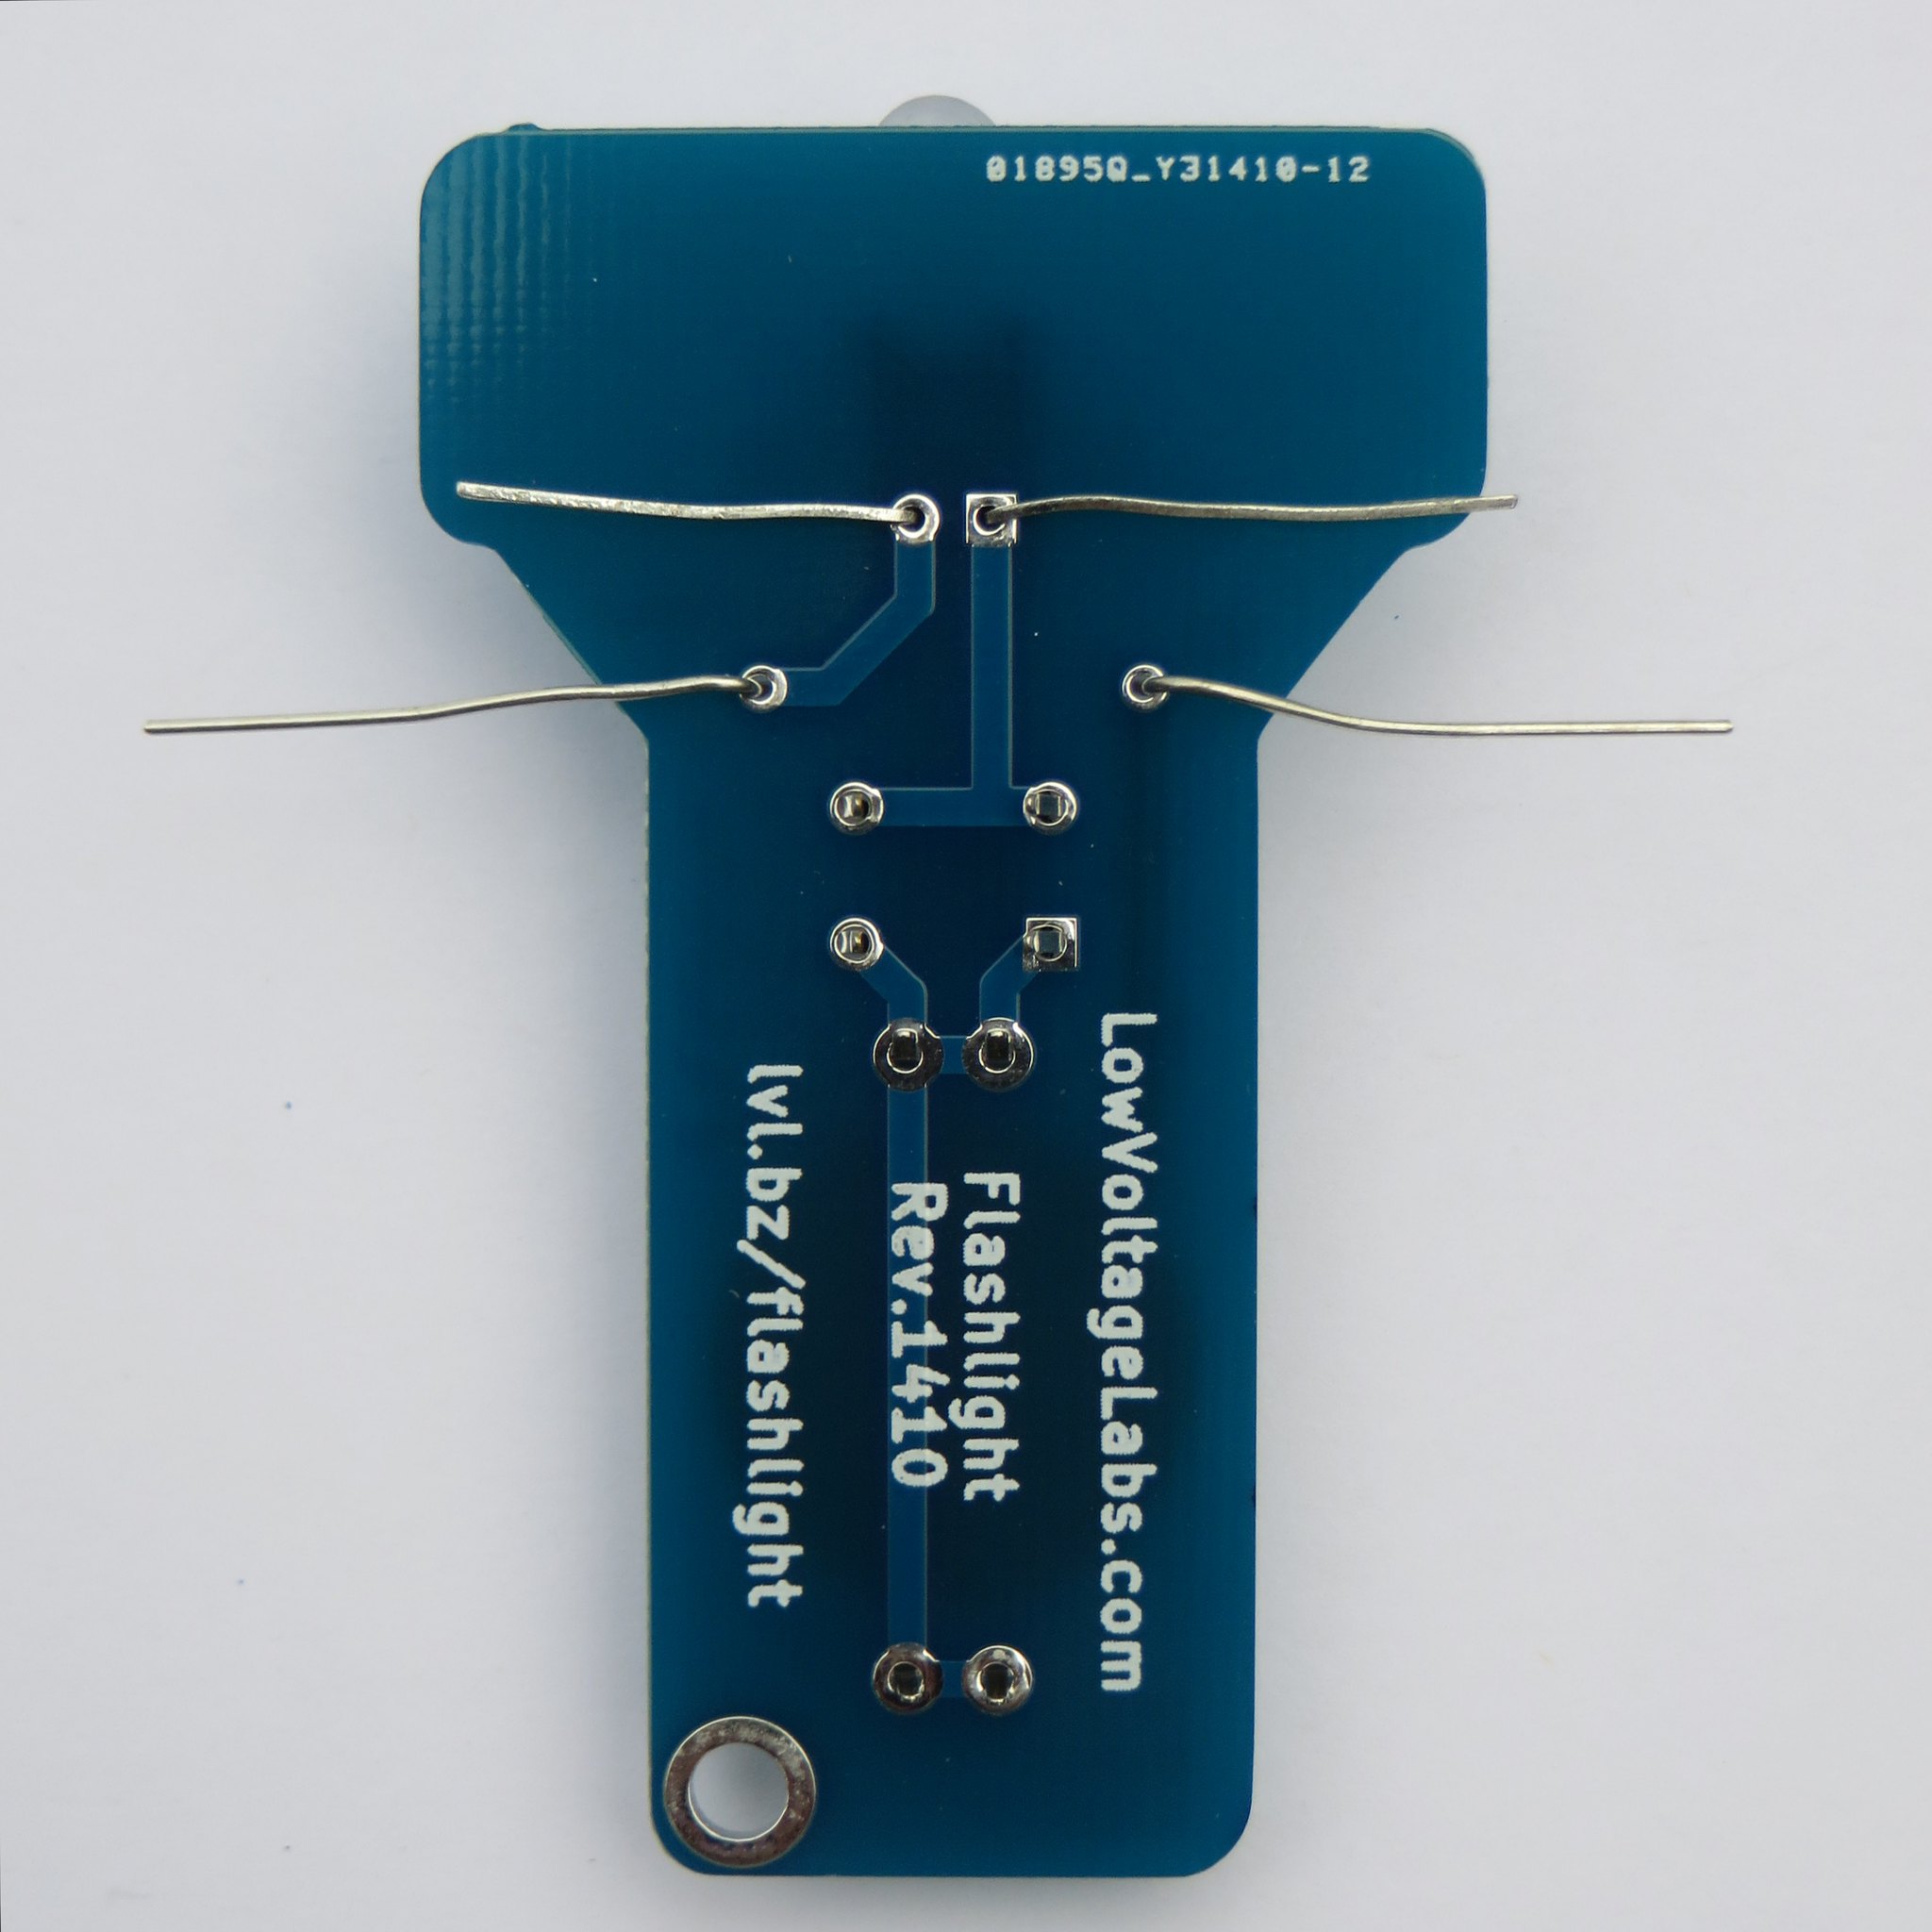
Step 10 – Turn over the flashlight and solder the parts on the back. Even if the battery holder was installed in the kit when received it still needs to be soldered.
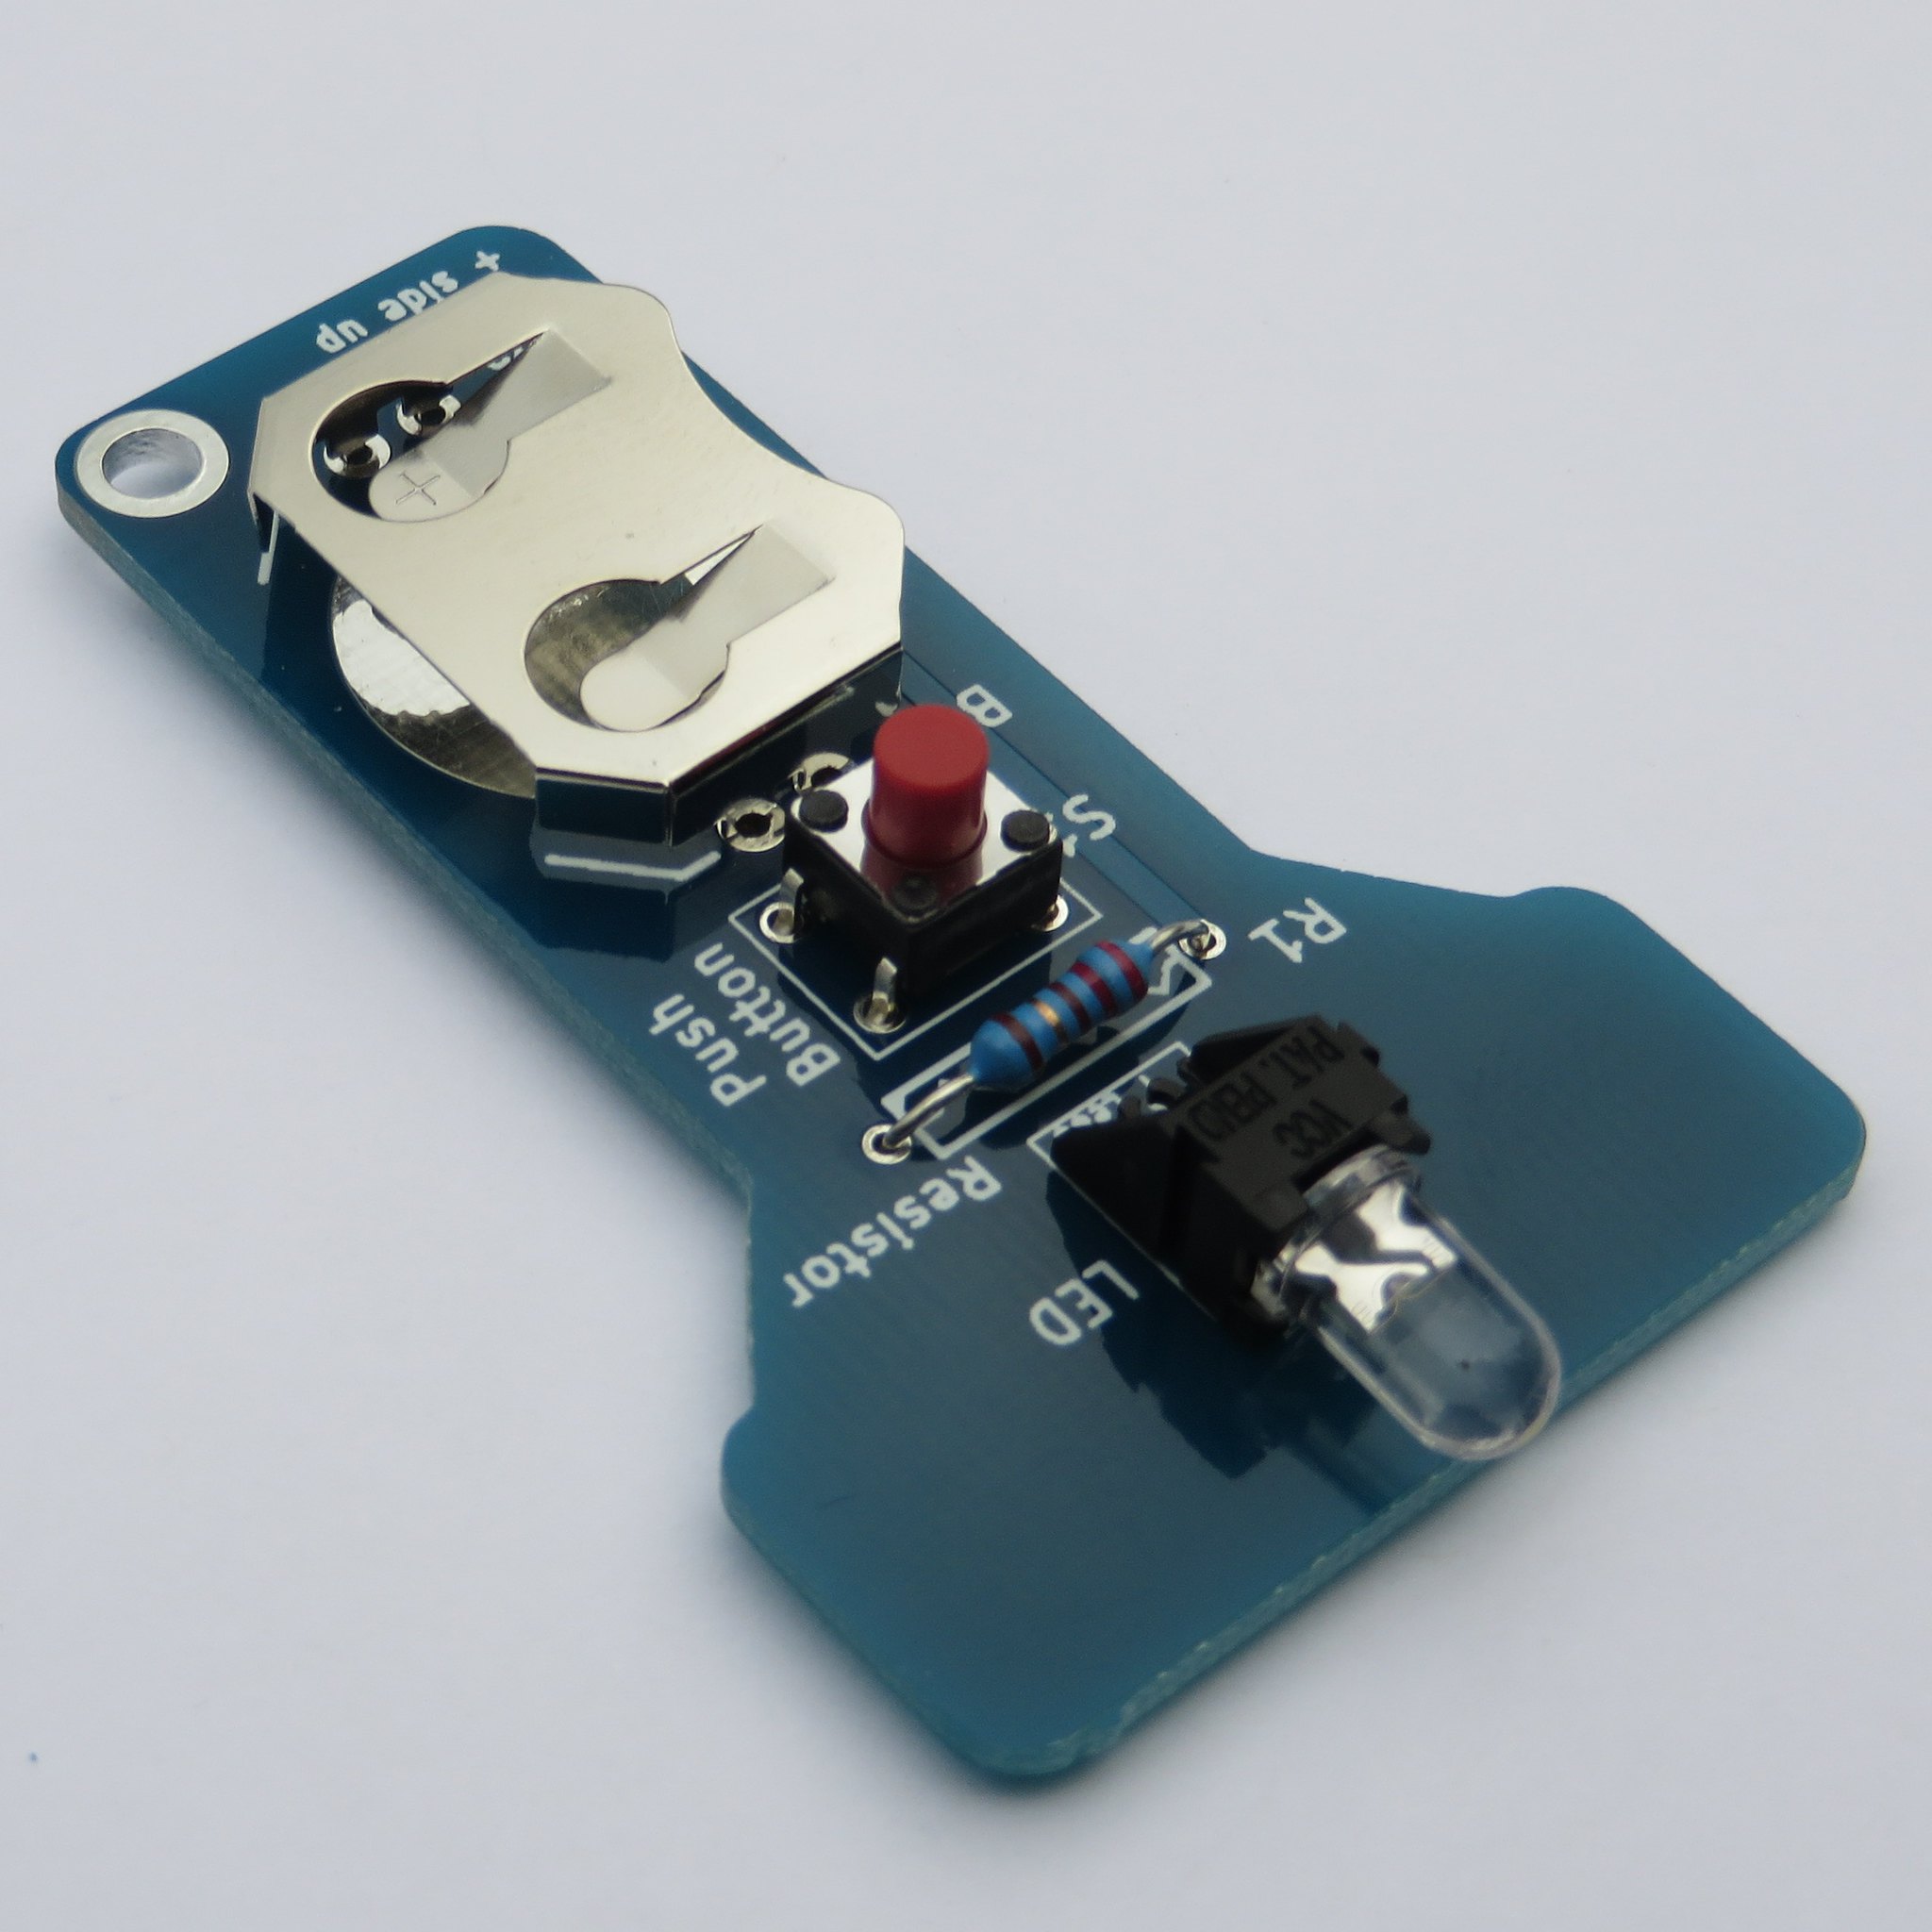
Step 11 – All parts are now soldered and installed
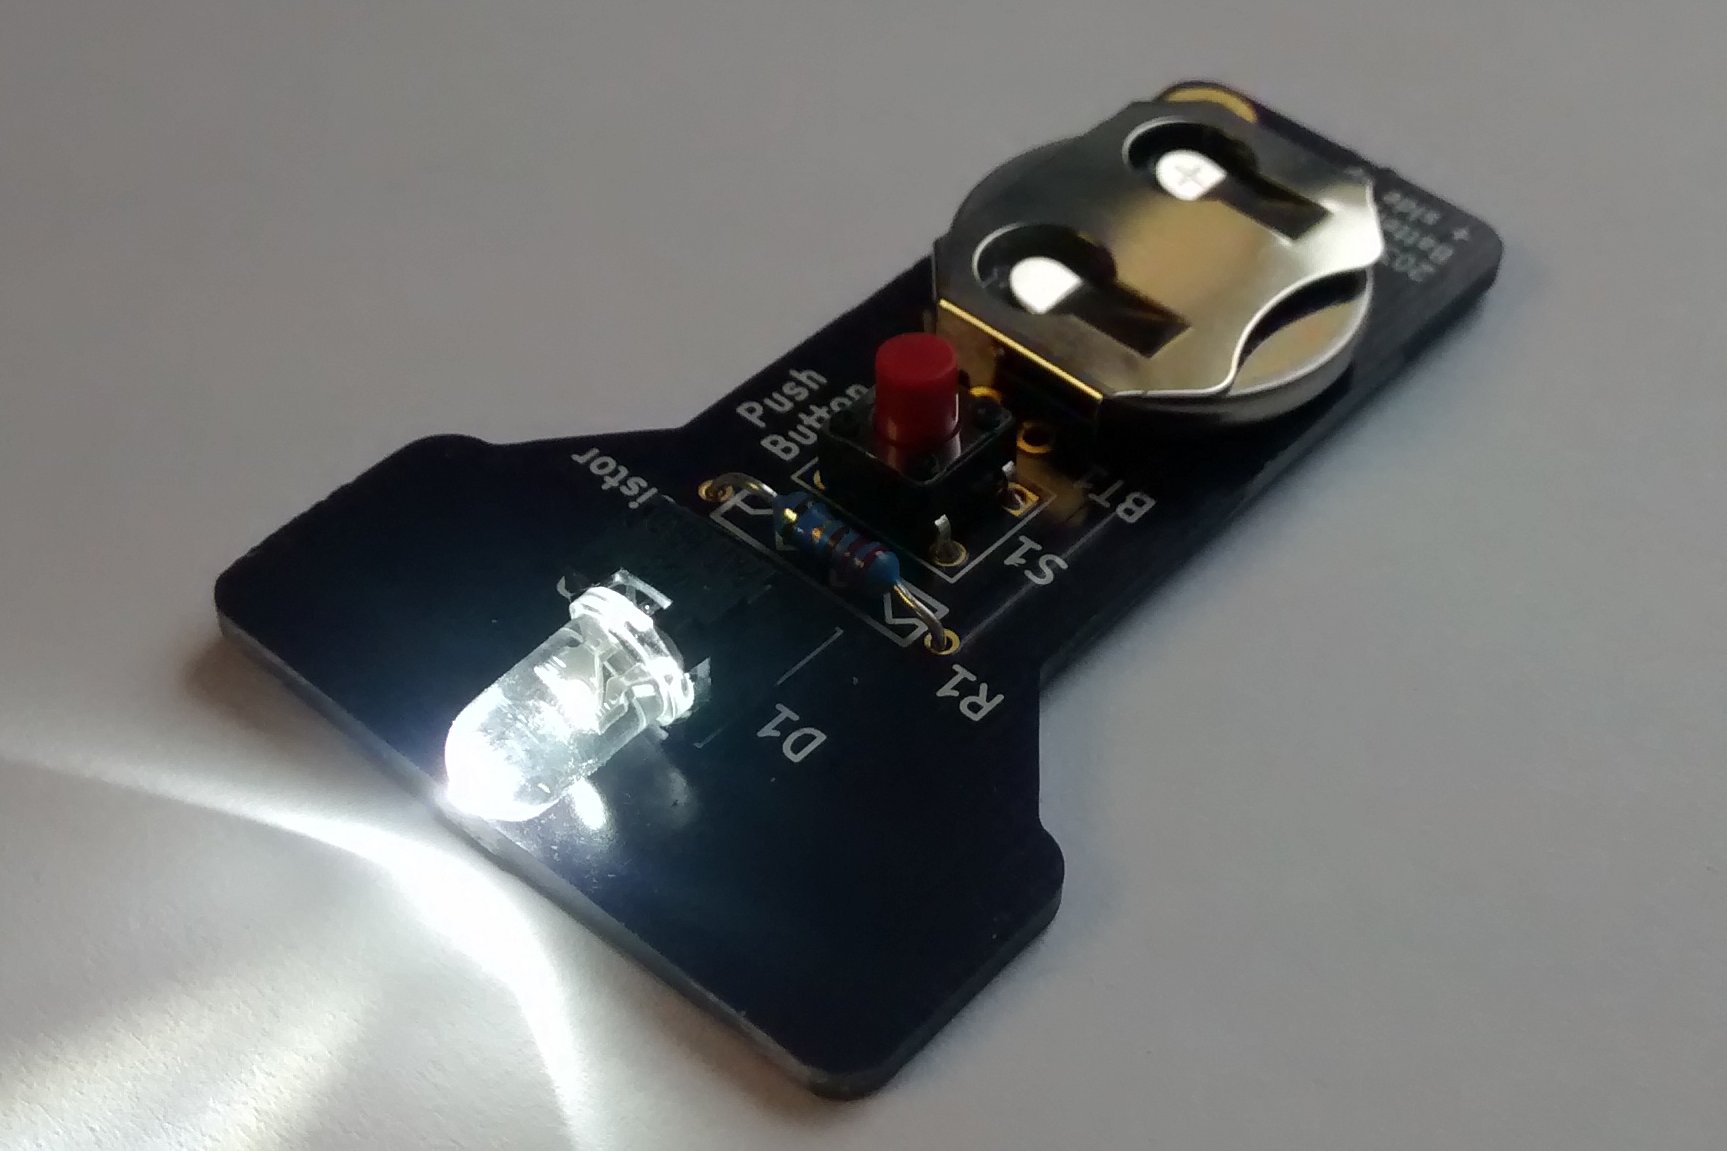
Step 12 – Install a 2032 battery with the positive side up. Press the push button to turn on the flashlight!
Product information and purchasing links at Flashlight kit